Halo Mount Setup Guide
The Halo Mount requires careful adjustment and fine-tuning to fit correctly. Work through each step in order, and revisit earlier adjustments as needed. The components interact, so dialing in one often requires rebalancing another. Getting the fit right is what makes or breaks comfort during extended sessions, so expect to iterate before settling on your final configuration.
Install the Halo Mount
Secure the Halo Mount to your Beyond, then attach your preferred head strap before making any fit adjustments.
Step 01
Clip on the Halo Mount
The Halo Mount clips directly onto the headset, no tools required, and nothing needs to be removed first. Clip the top mounting point first, then press both bottom feet into place to complete the connection.
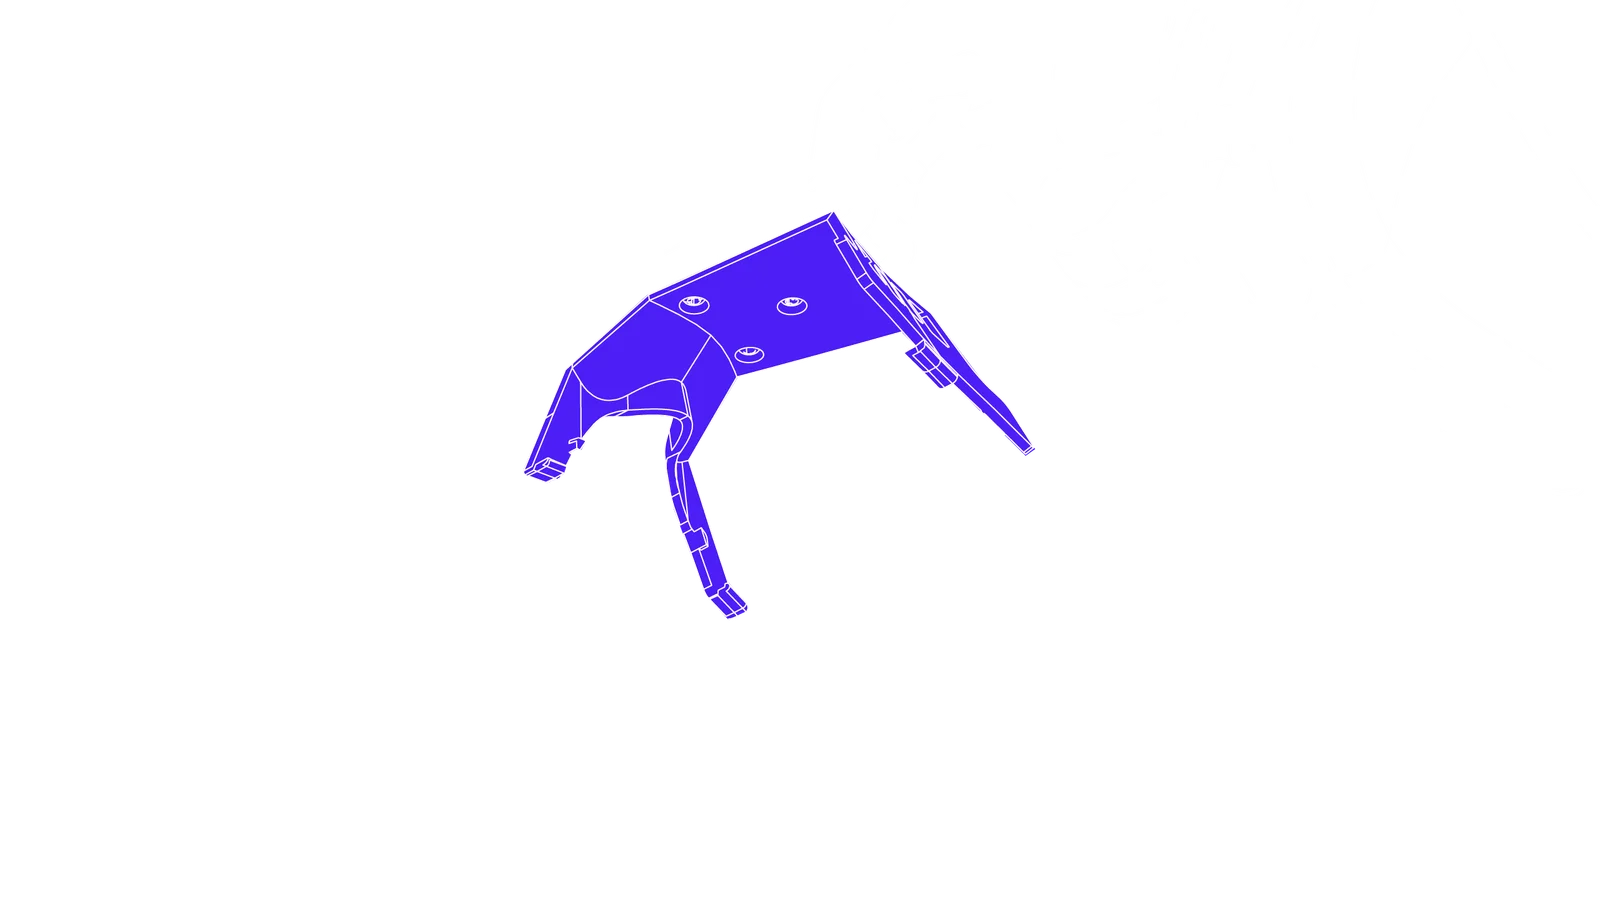
Start Position
Locate the three mounting points on the headset: one at the top and two at the bottom. Ensure the clip points are clean and unobstructed before introducing the Halo Mount.
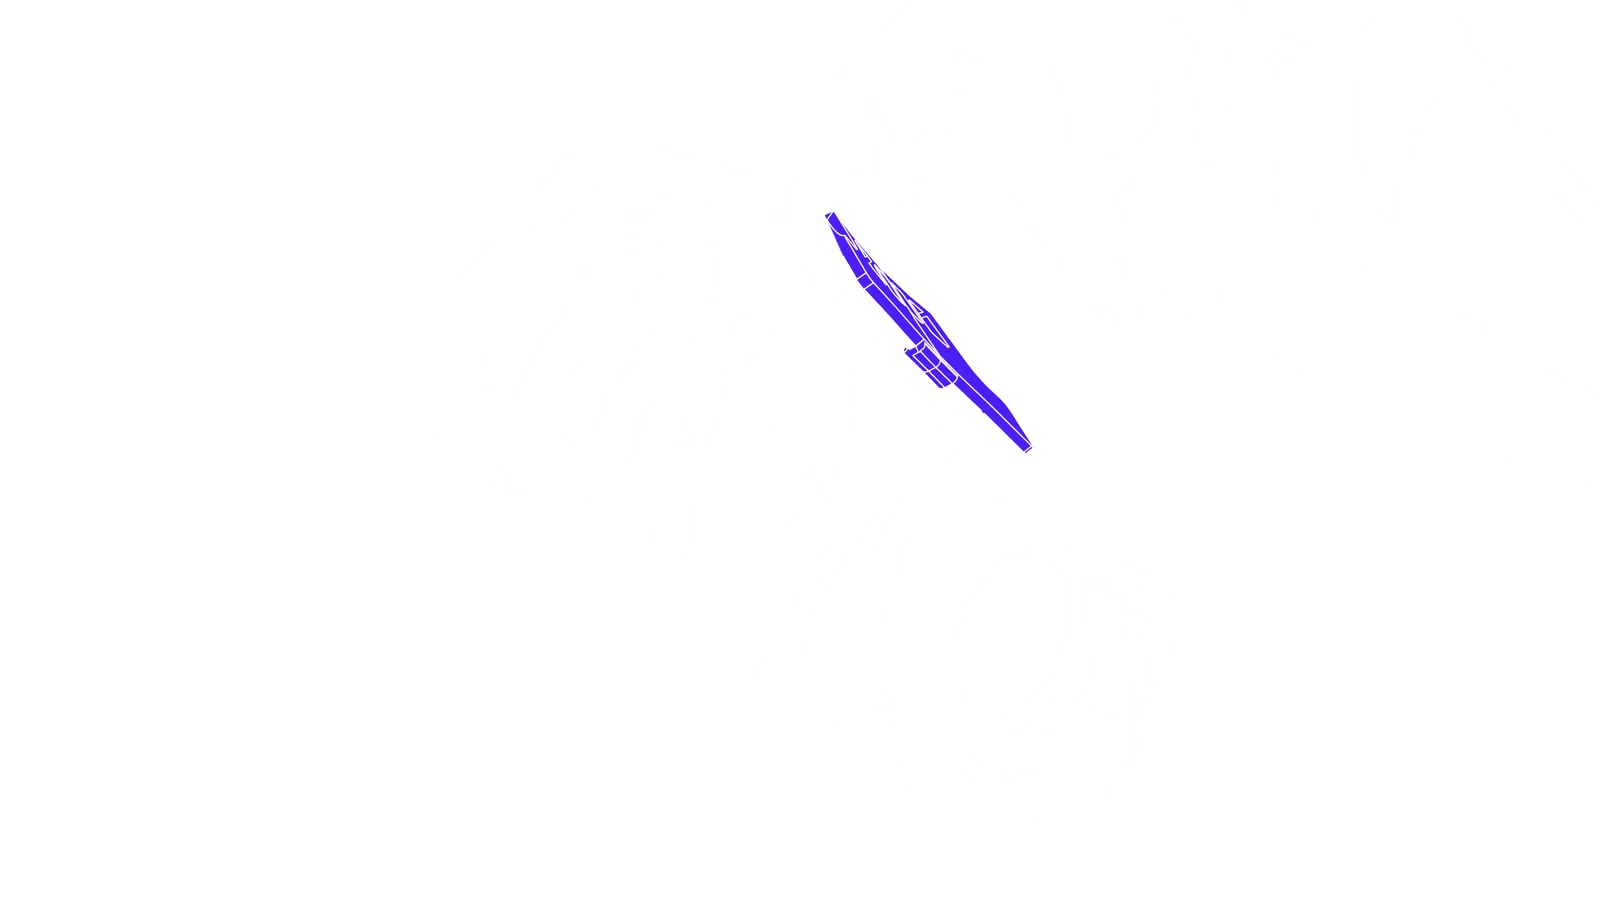
Clipping On
Engage the top clip onto the upper mounting point with gentle pressure until it seats. With the top held in place, rotate the Halo Mount downward and press both bottom feet into their mounting points until you hear the engagement click on each side.
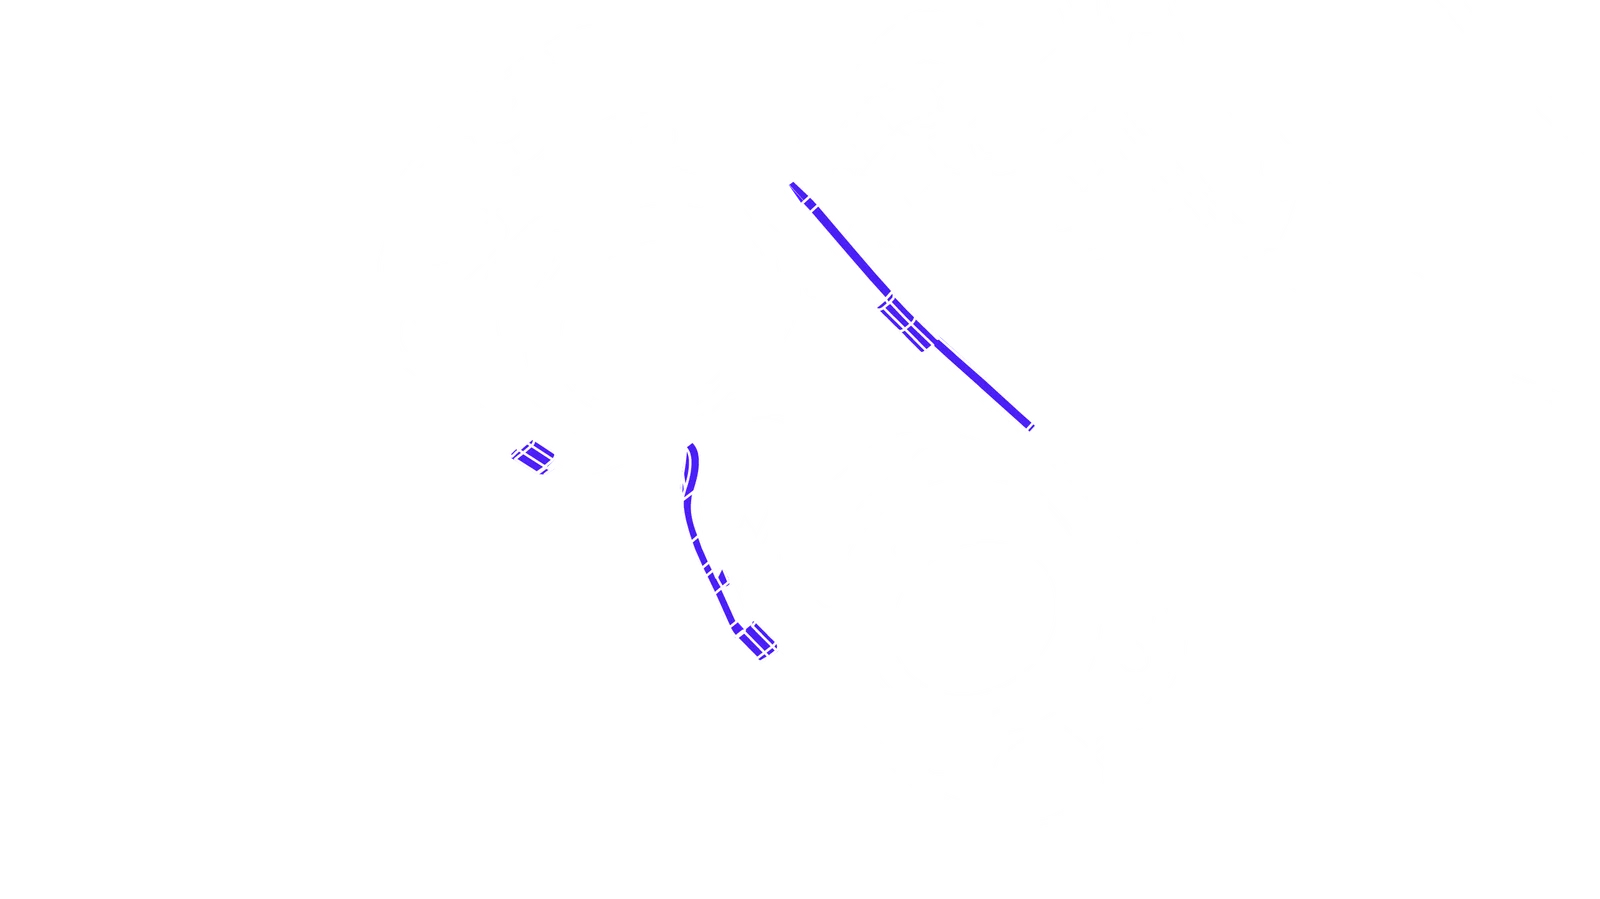
Complete
The Halo Mount is now secured at all three points. Verify stability by gently testing the connection, the top clip and both bottom feet should hold firmly without flex before proceeding.
Step 02
Attach the Strap
With the Halo Mount secured, attach either the Soft Strap or the Audio Strap. Both straps use the same hinge points on either side of the Halo Mount, so the attachment process is identical regardless of which you choose.
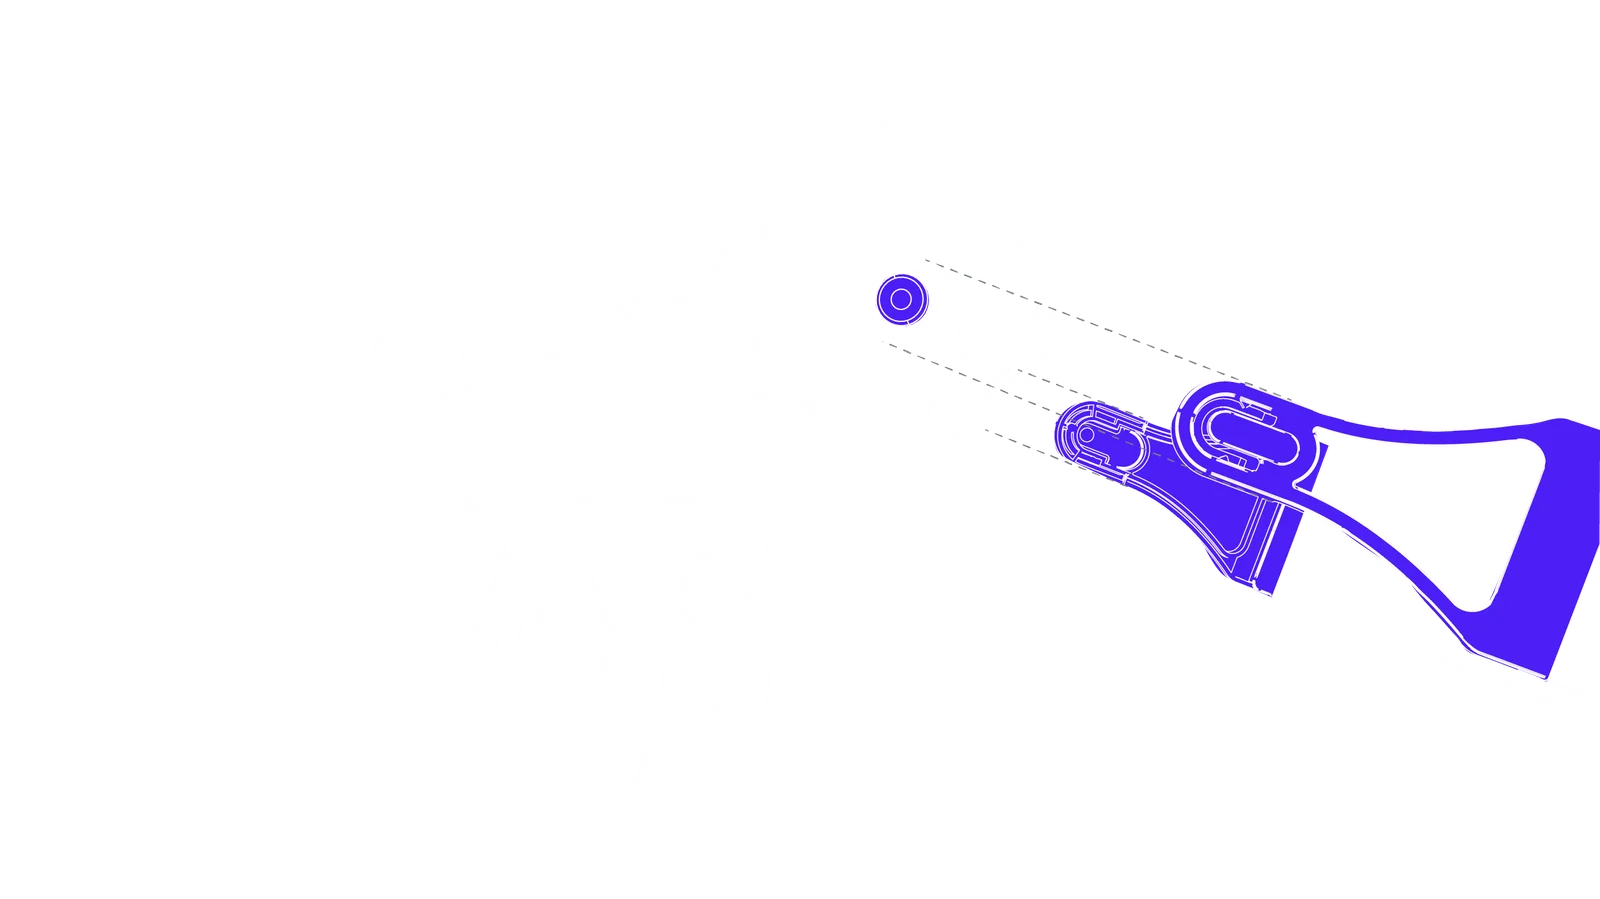
Start Position
Align one hinge arm with its corresponding knob on the Halo Mount. The arm should sit square to the knob so it clips on cleanly.
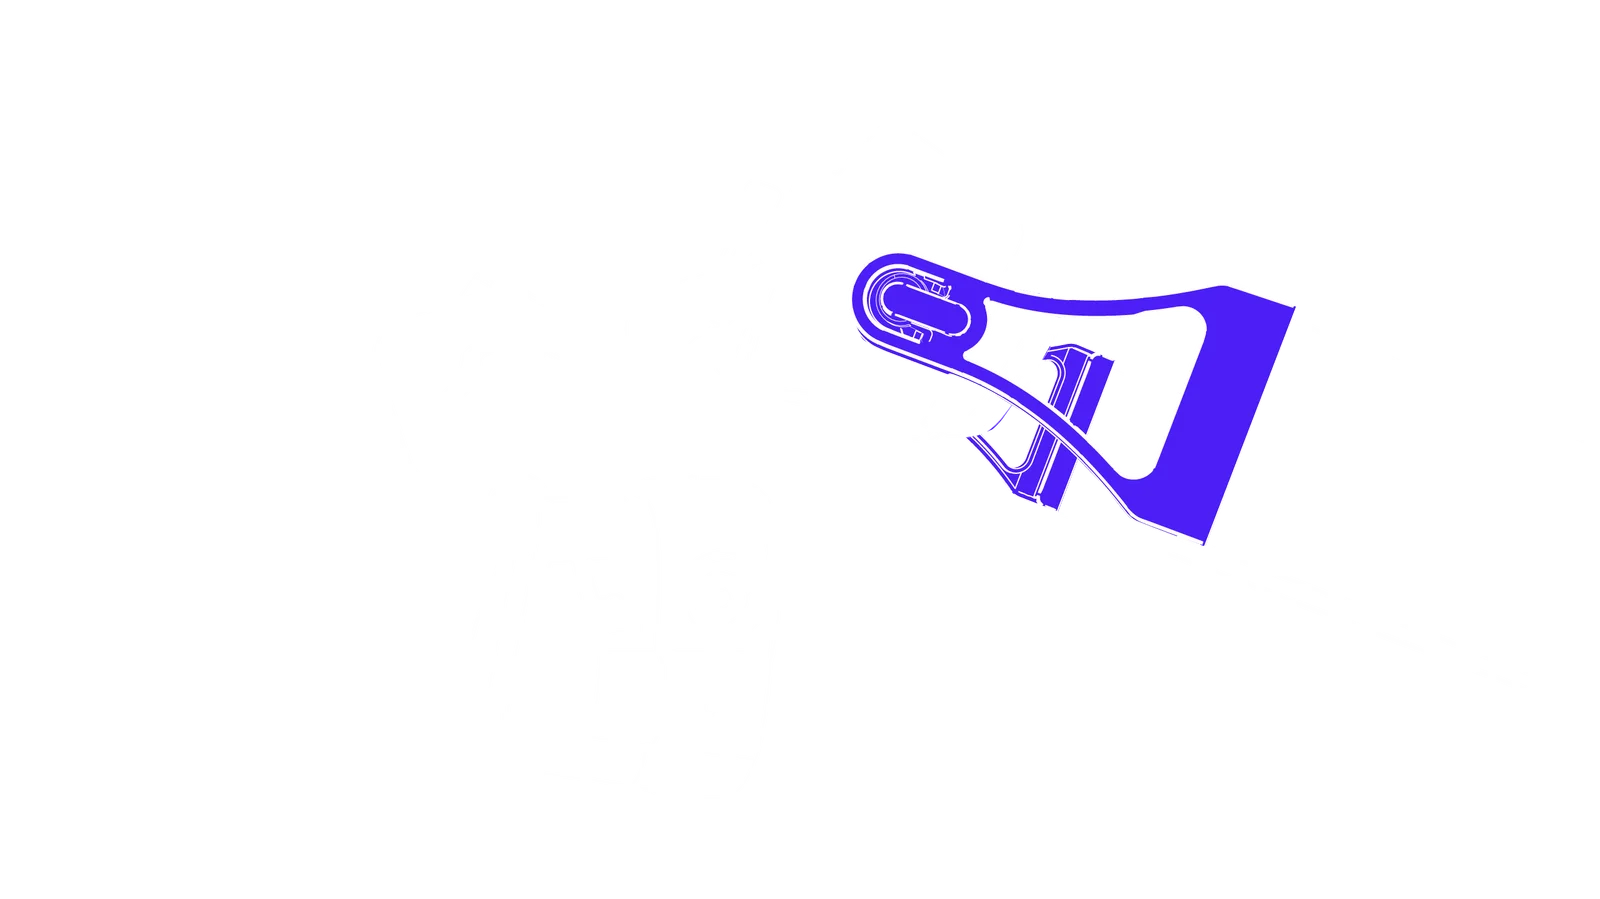
Strap Arms Attached
Push the hinge arm onto the knob until it clips into place, then repeat on the opposite side. Confirm both arms are fully seated before adjusting fit.
Adjust the Fit
Set the height, tilt, and angle together so the headset sits level and its weight is distributed comfortably.
Step 03
Set the Height
The height slider controls the vertical position of the Halo Mount on your head. Adjust it so the headset sits level with your line of sight, with weight distributed evenly between the forehead and the rear strap.
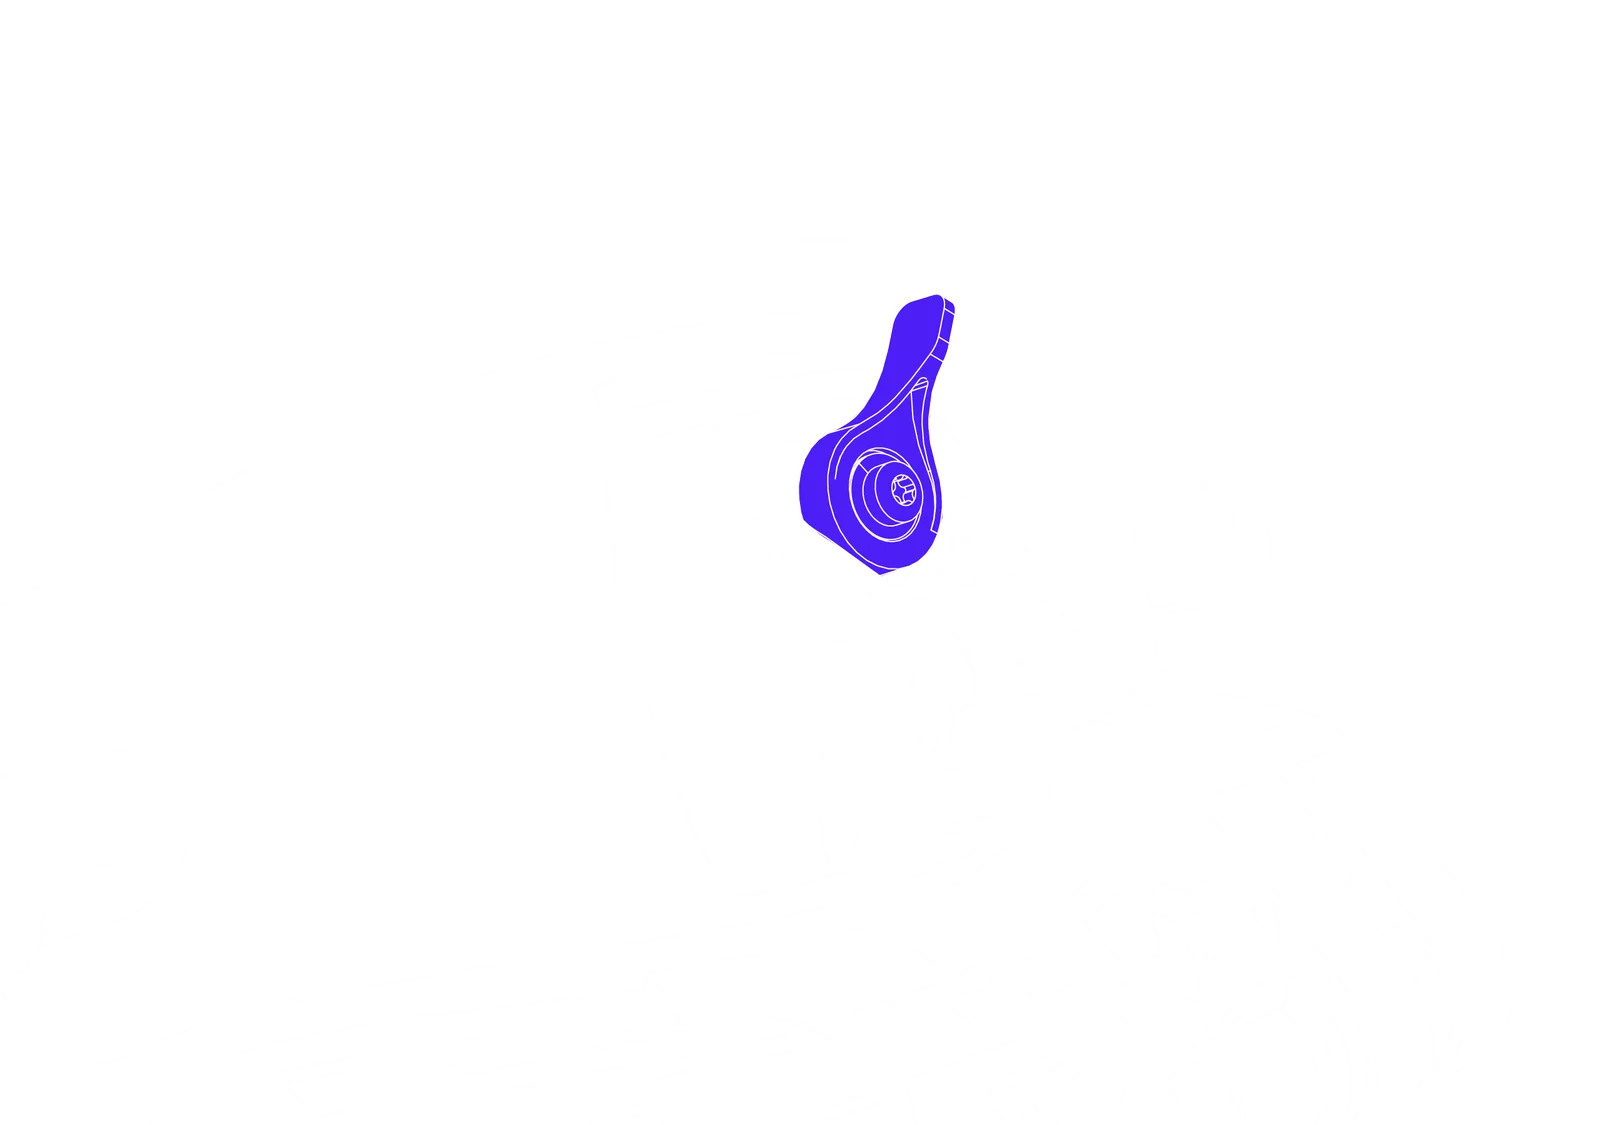
Unlock Height Slider
Move the lever on the height slider from right to left to release the snap lock. With the lock disengaged, the slider moves freely along its travel range.
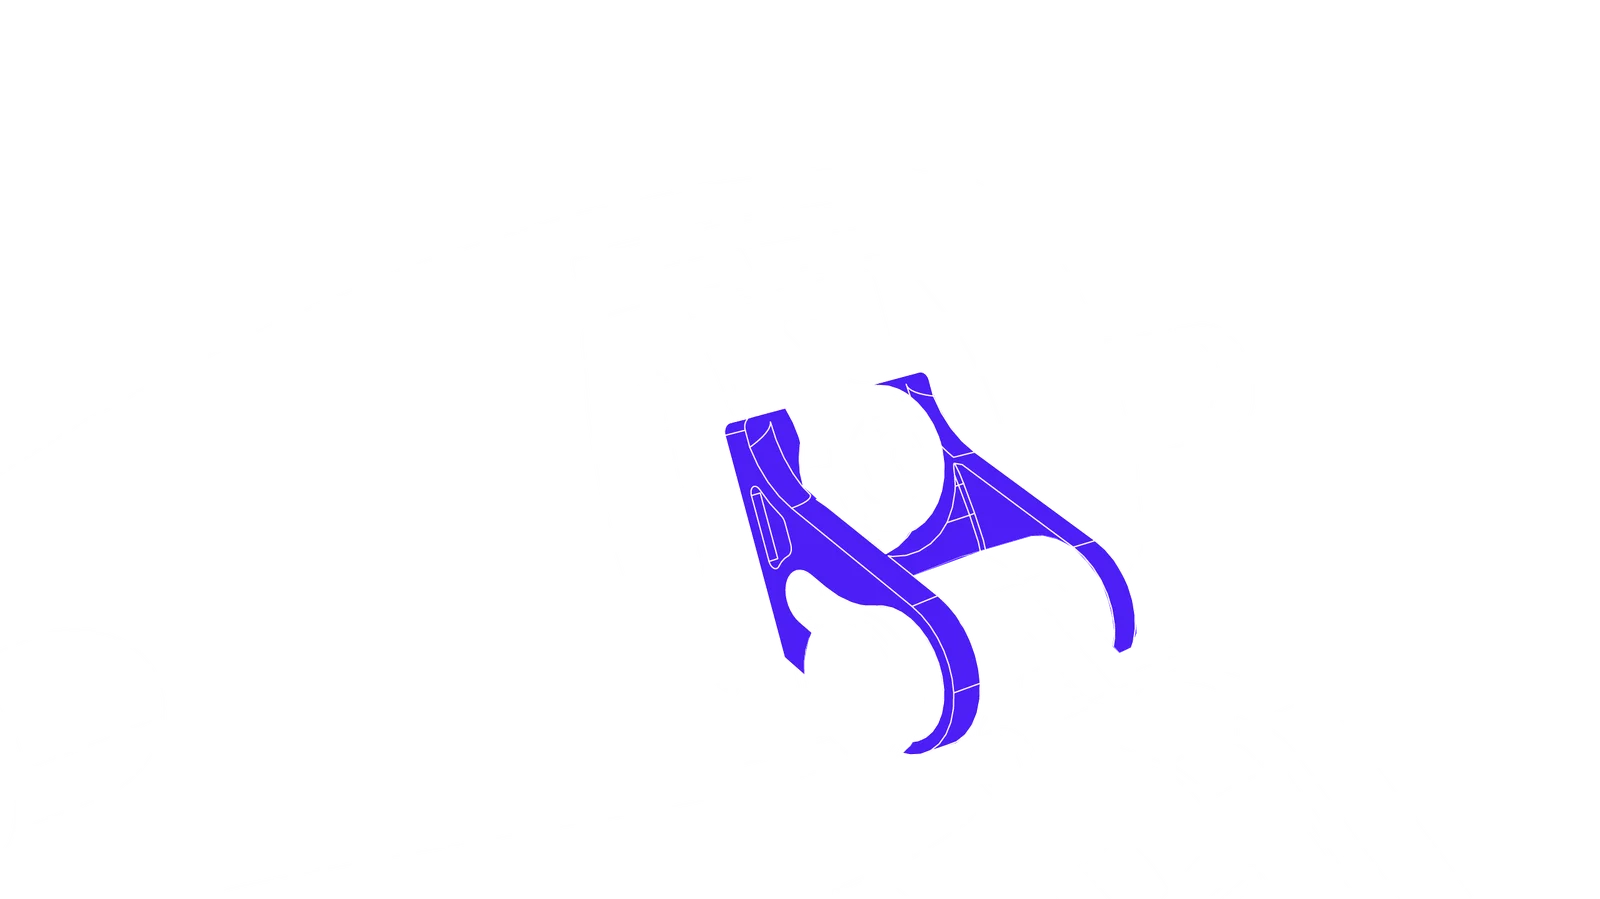
Set Height, Then Lock
With the arms positioned at the correct height, tighten the adjusters until the arms hold firmly in place. Test the setting by gently flexing the arms, they should not shift under the weight of the headset.
Step 04
Set the Tilt and Angle
The Main Adjuster controls tilt and angle across two hinge points, setting how the headset sits against your face. Loosen the knob to free the hinges, position the headset to your preferred angle, then retighten to lock it in place.
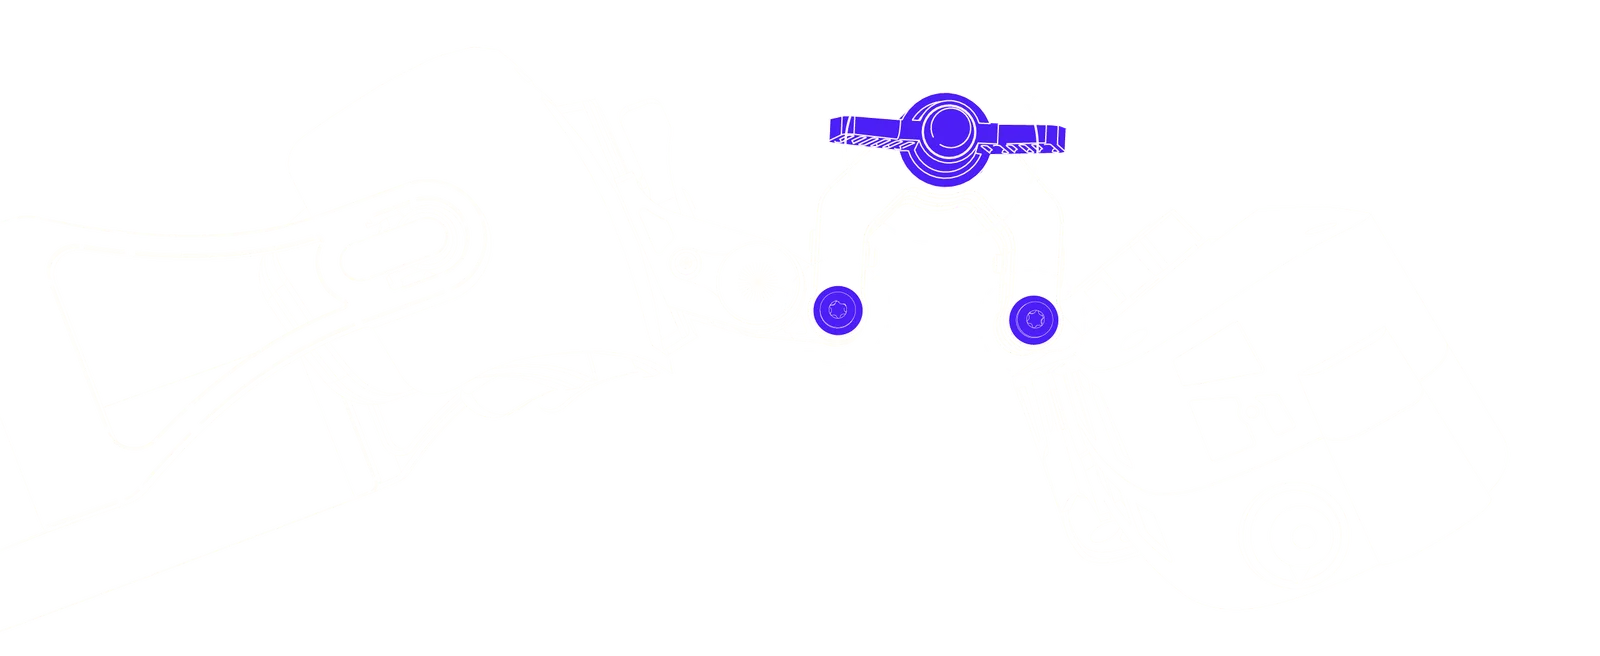
Loosen Main Adjuster
Rotate the Main Adjuster counter-clockwise to release tension on both hinge points. The hinges should move freely once the knob is loose enough, no need to fully unscrew it.
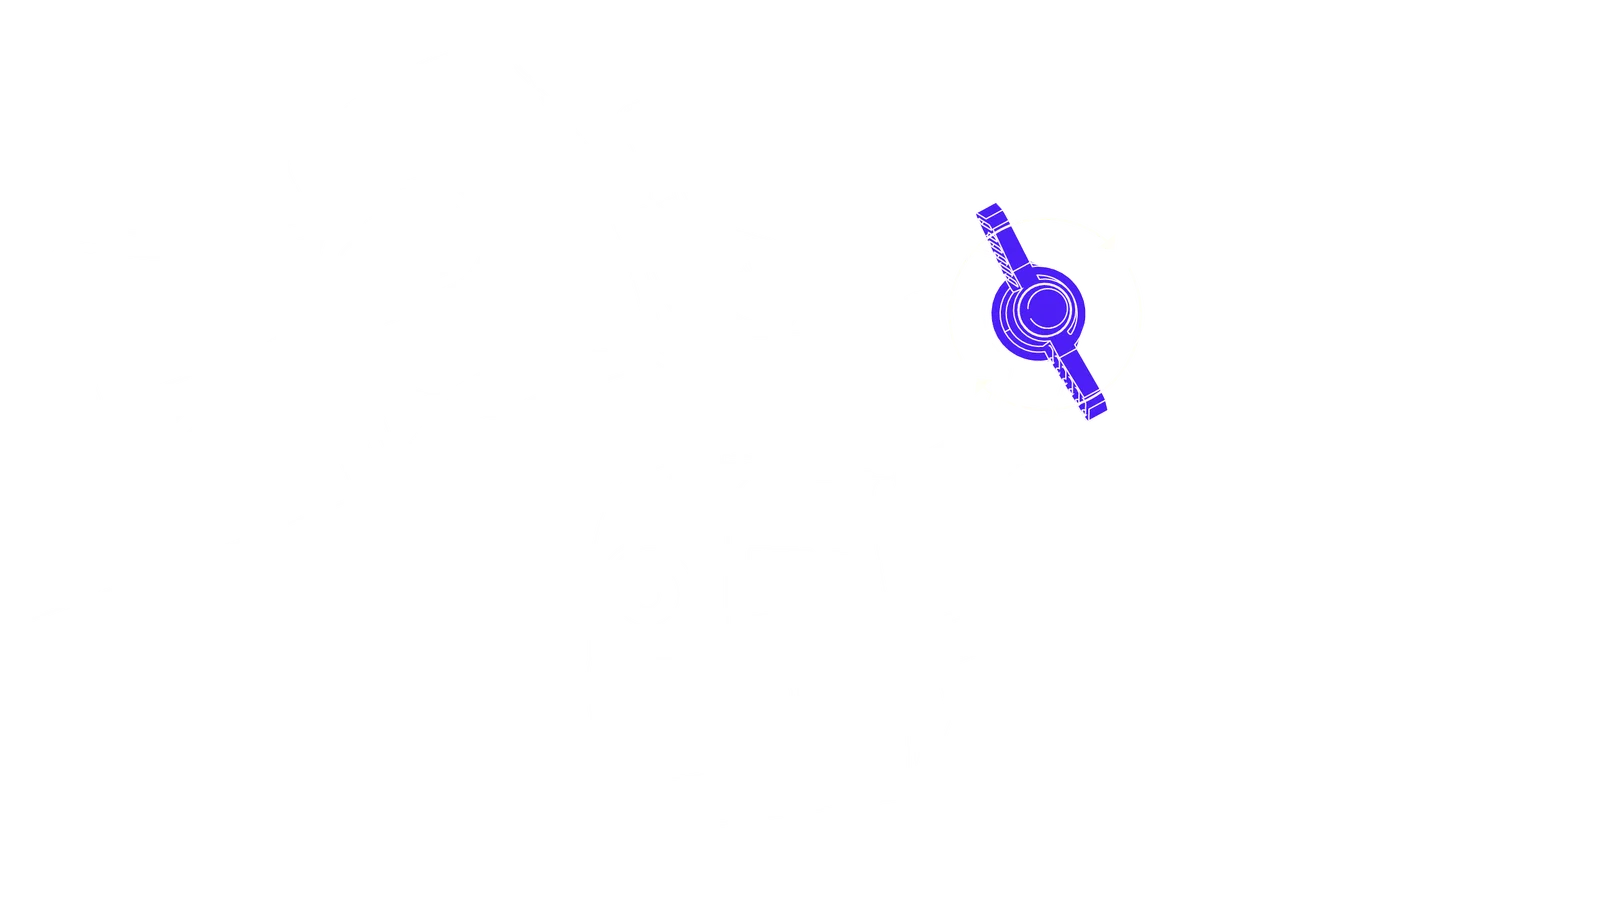
Set Angle, Then Tighten
With the headset at your preferred tilt and angle, rotate the knob clockwise until both hinges are locked. The headset should hold its position firmly without drifting under its own weight.
Flip Up and Cable Routing
Learn the flip-up mechanism, then route the headset cable with enough slack for the full range of motion.
Step 05
Using Flip Up
The Flip Up mechanism pivots the headset upward and out of your field of view without removing the Halo Mount. It's a two-position lock (fully down or fully up) engaged by a spring-loaded button on the hinge. Pressing the button in releases the lock, and the button pops back out to re-engage when the headset reaches either end of its travel.
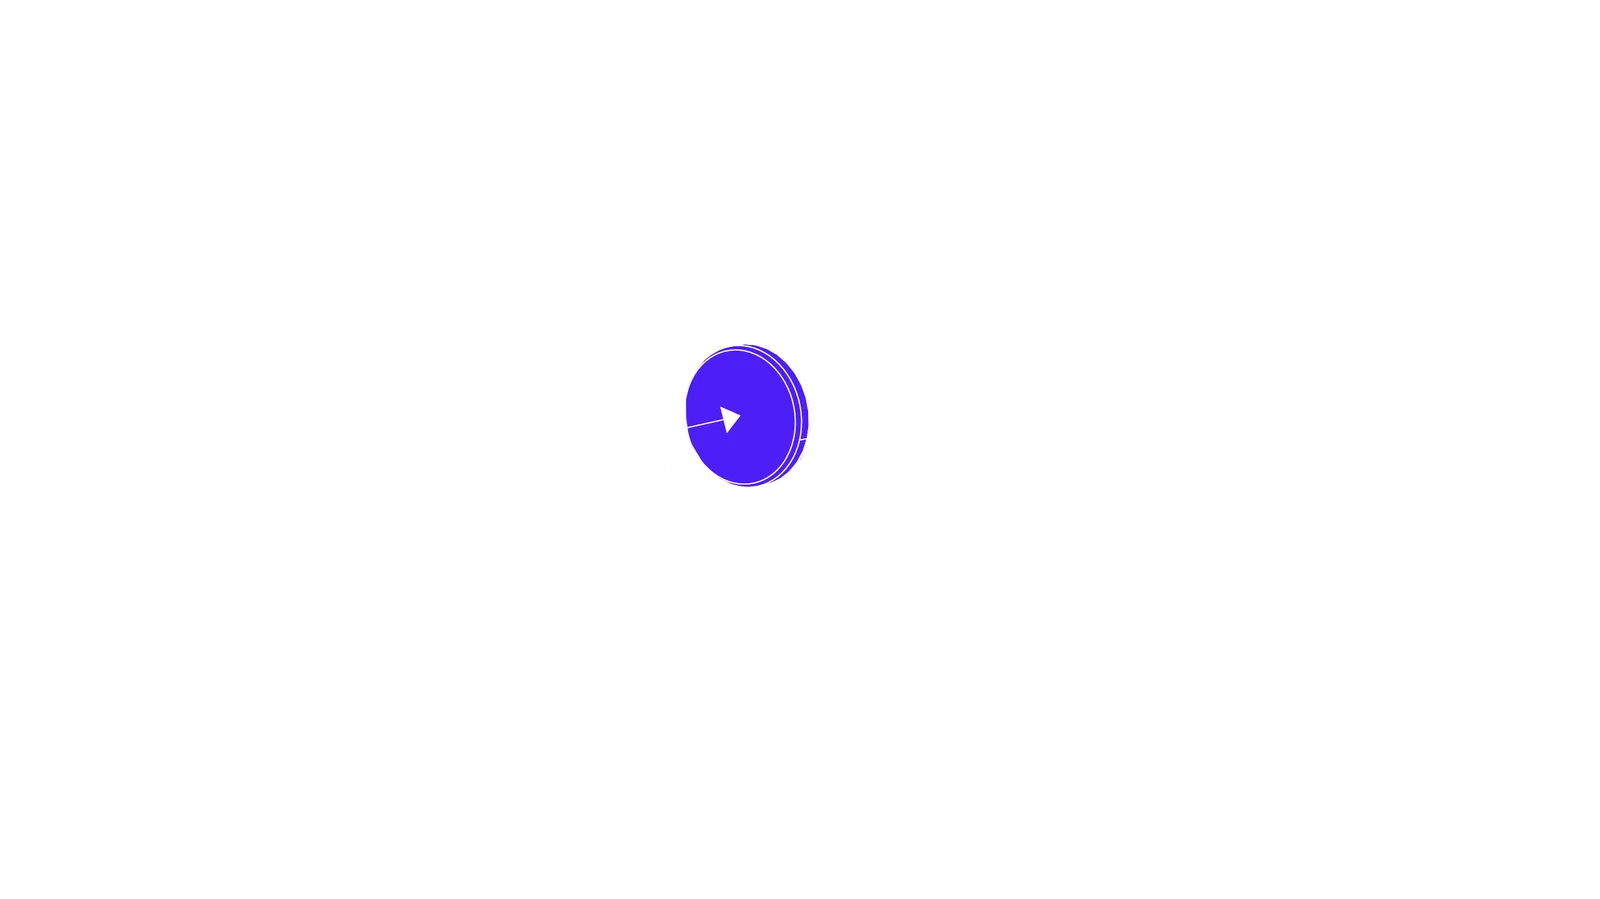
Down Position
With the Halo Mount worn and the headset in its lowered position, locate the release button on the hinge. The button sits proud of the hinge when locked, indicating the headset is secured in the down position.
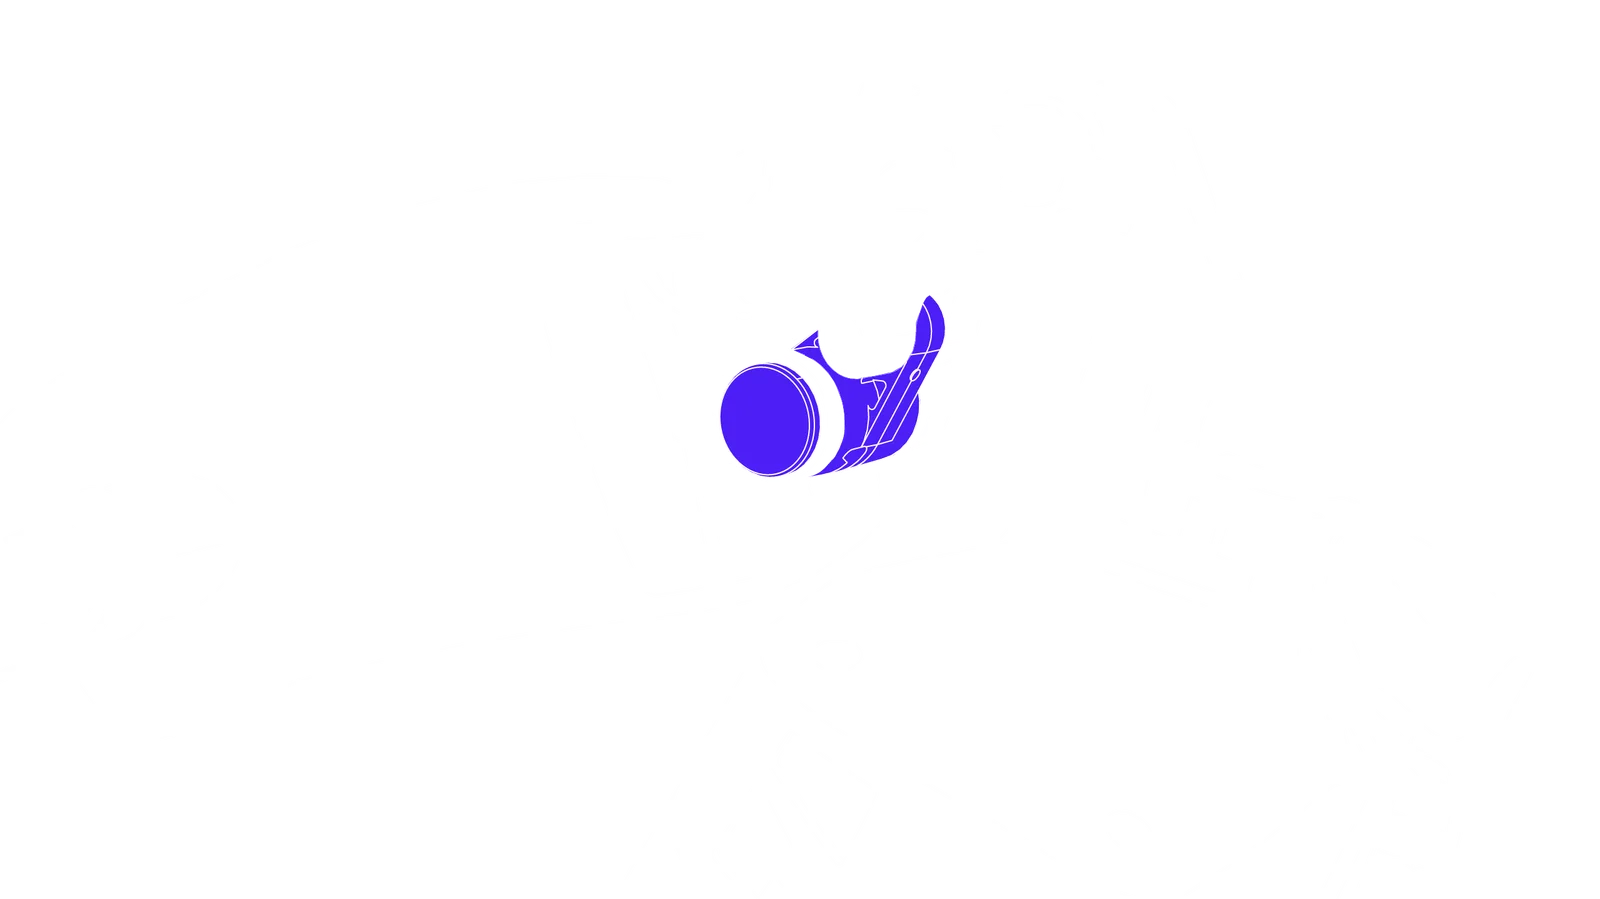
Flipping Up
Press the button inward and rotate the headset upward in a single smooth motion. Hold the button until the hinge clears its lower lock, then continue the motion. When the headset reaches the upper position, the mechanism snaps into place and the button pops back outward on its own, indicating the lock has engaged.
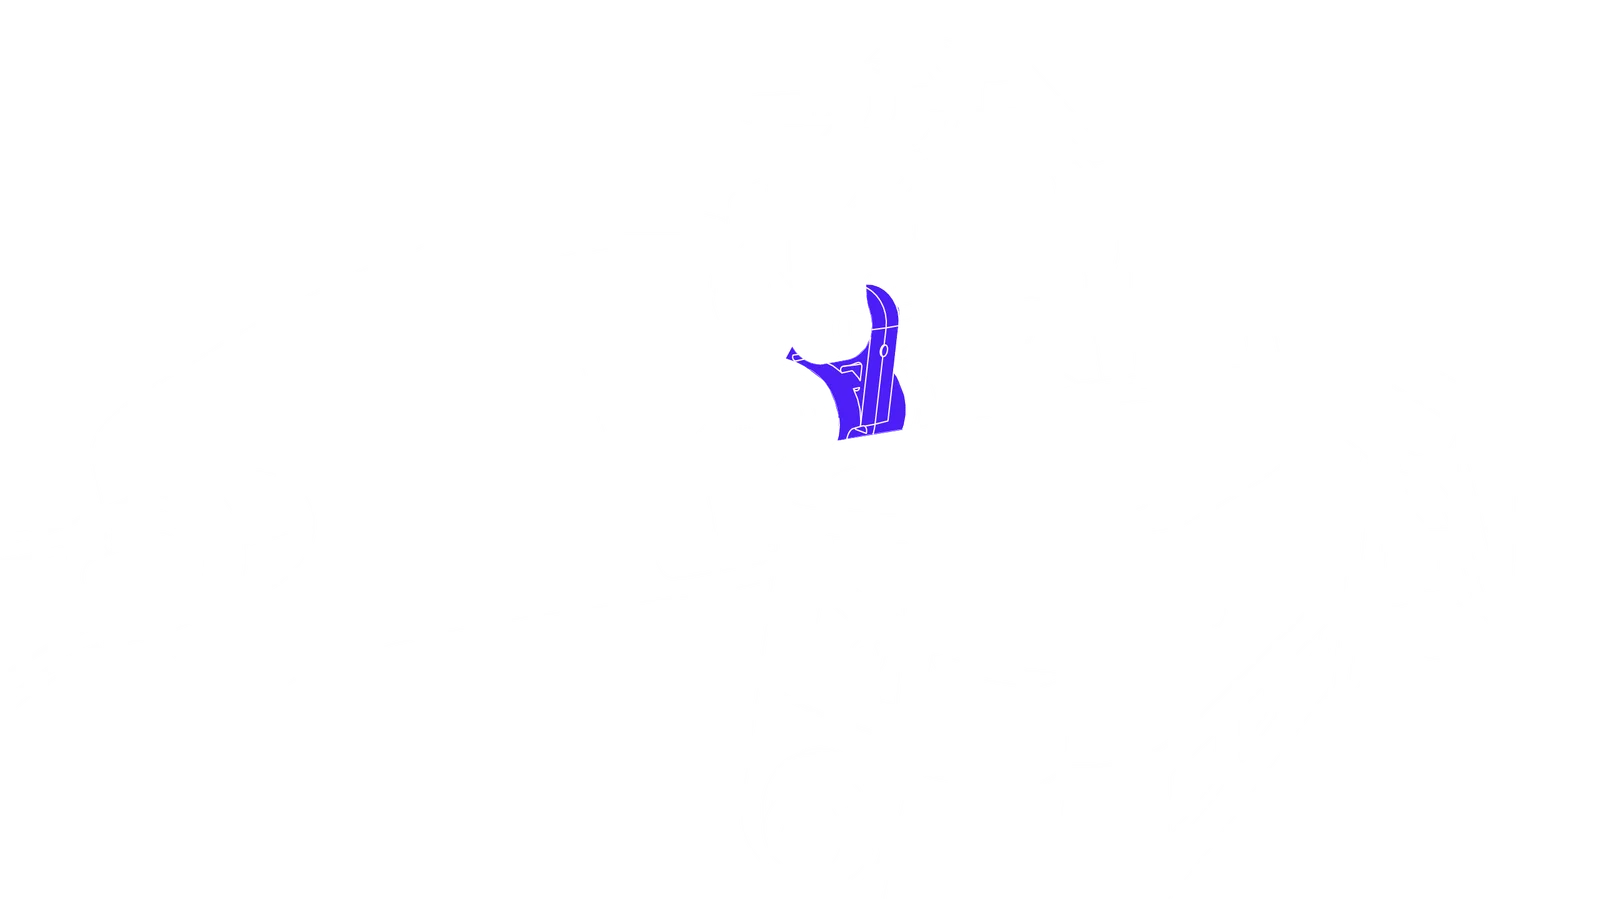
Up Position
The headset is now locked in the upper position and holds without support. To return to active use, press the button again and rotate the headset downward in a single smooth motion until it snaps into the lower lock.
Step 06
Install the Cable Feeder & Route the Cable
The cable feeder slides onto the soft strap and guides the USB-C cable cleanly along the side of the headset. Proper routing keeps the cable managed, prevents snagging, and leaves enough slack to flip the headset up and down freely.
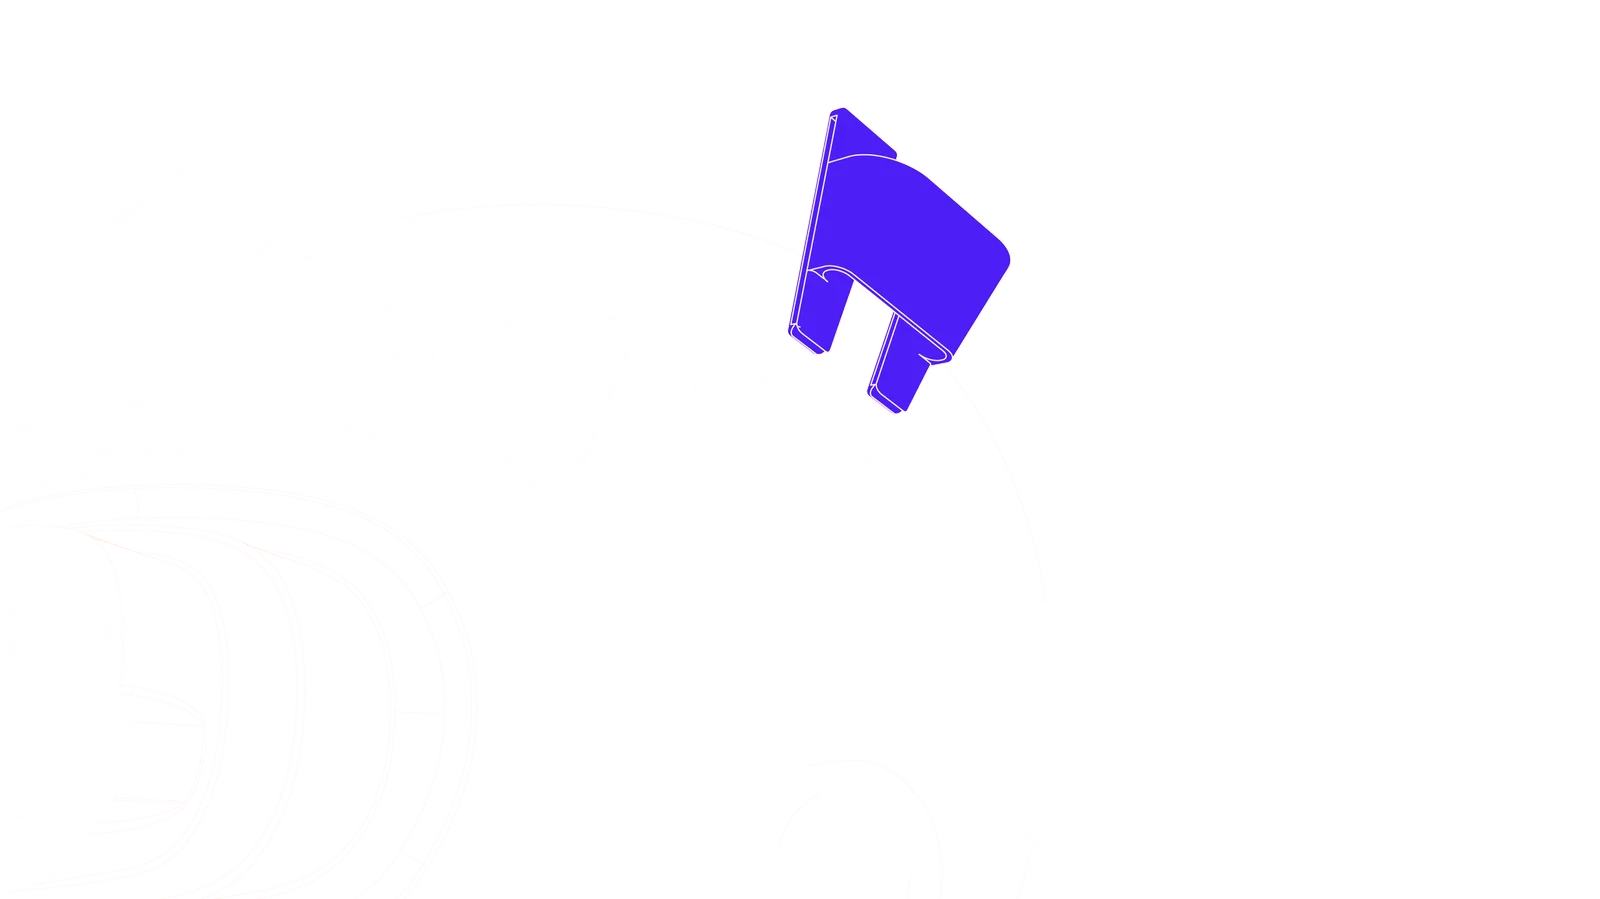
Attach Cable Feeder
Slide the cable feeder down onto the soft strap until it seats fully in place. It should sit flush against the strap without shifting.
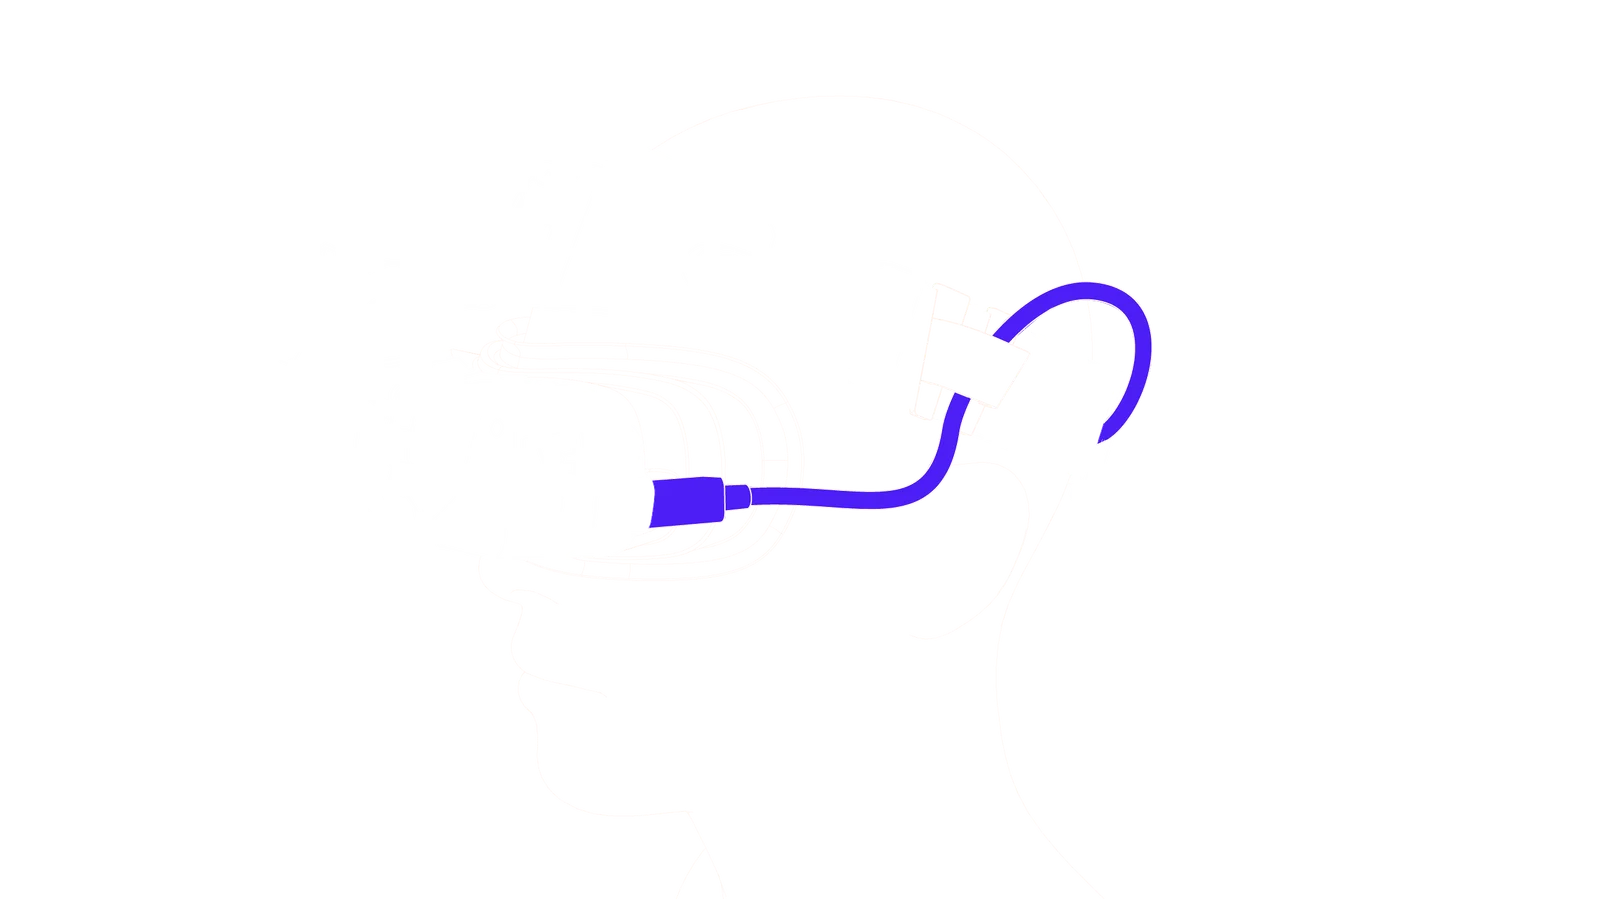
Route the Cable
Feed the USB-C cable through the feeder and loop it through the strap hinge, leaving enough slack to flip the headset up and down freely. Test the motion a few times to confirm the cable moves cleanly without tension or pulling.
Support
Troubleshooting
Find answers to common questions for your Halo Mount. If you still need help, contact Bigscreen Support.
The Halo Mount feels loose on my headset.
Confirm that the top clip and both lower feet are fully seated. Remove the Halo Mount and repeat the installation if any mounting point moves independently or did not click into place.
The headset drifts out of position while I wear it.
Loosen the Main Adjuster, set the height and angle again, then tighten it until both hinge points hold firmly. Rebalance the rear strap if the headset still pulls forward.
The flip-up mechanism will not lock.
Press the release button fully and move the headset to the end of its travel. The button should pop outward when the mechanism reaches the fully raised or fully lowered locking position.