Bigscreen Beyond 1 & 2 Setup Guide
Everything you need to get your Beyond set up and dialed in: the pre-installation checklist, unboxing and connection, headset and strap adjustments, SteamVR, the Beyond Utility, and cleaning.
Pre-Installation Checklist
Before we dive into the exciting world of Beyond, let's first make sure you have what you need.

VR-Ready Windows PC
A Windows gaming PC is required to run VR games and applications. Minimum specifications: Windows 10 or 11, a quad-core CPU, and an Nvidia (RTX 2070 or newer) or AMD (RX 5700 or newer) graphics card.
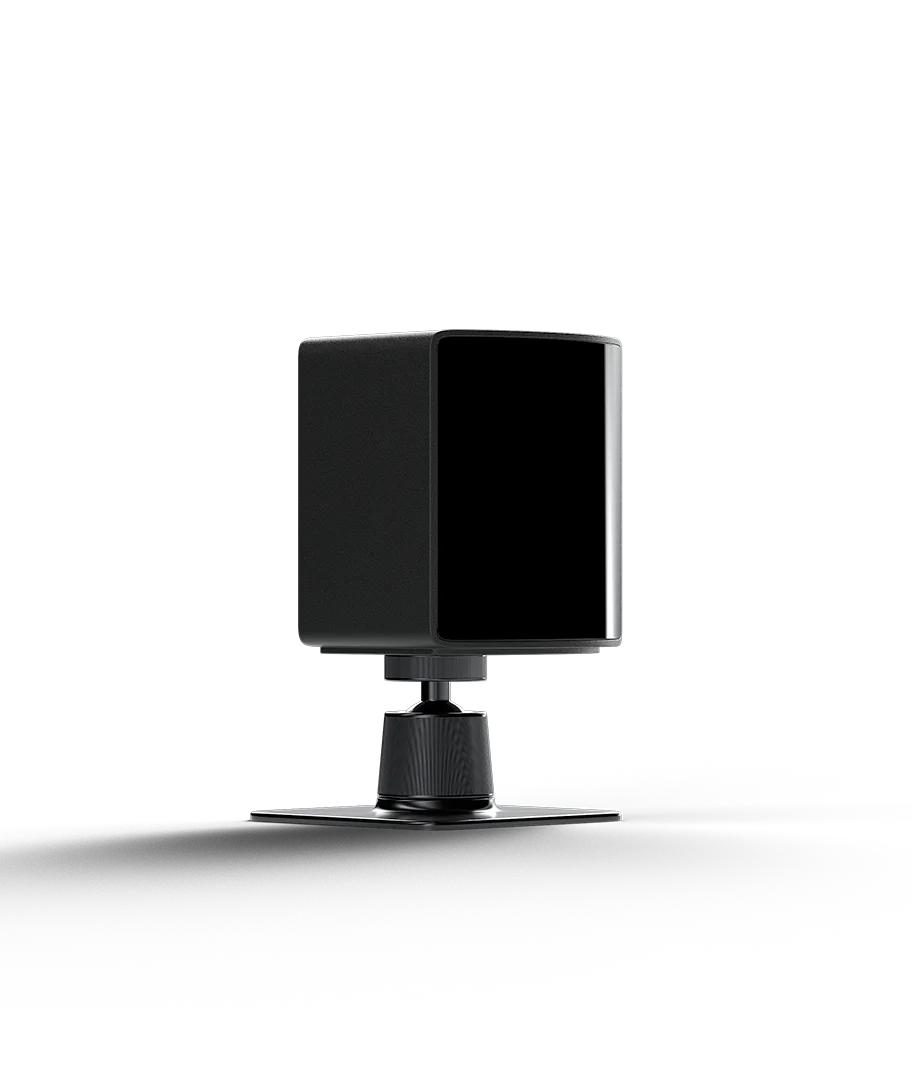
SteamVR Base Stations
Beyond requires SteamVR Base Stations for headset and controller tracking. These track the headset in 3D space and enable VR experiences. They can be purchased from the Steam Store.
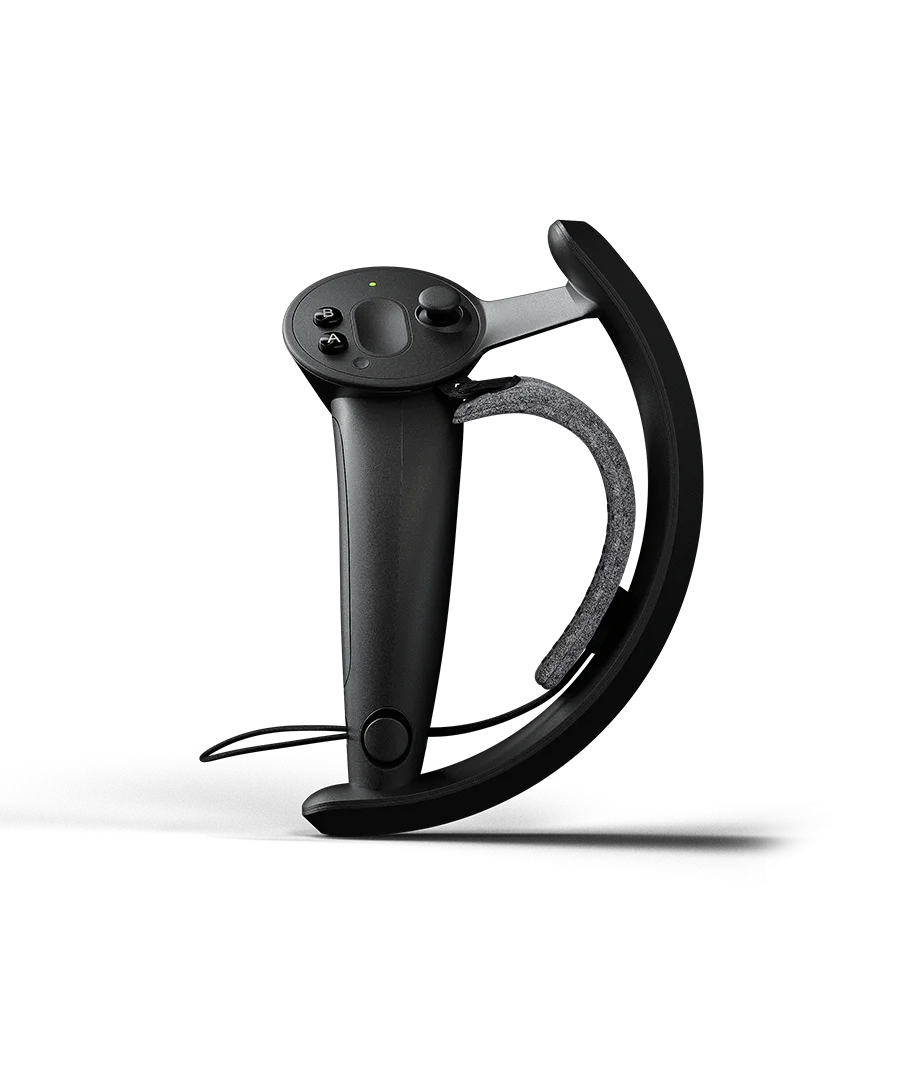
SteamVR Controllers
Beyond is compatible with all SteamVR controllers, such as the Valve Index controllers. Controllers are not included and are required for playing most VR games.
Unboxing & Connecting the Headset
Inside the box you'll find: your Beyond, your custom-made face cushion (optional), a 5-meter fiber optic USB-C cable, an IPD tool (Beyond 2 only), and the Link Box.
Connect the Cable
Connecting the cable
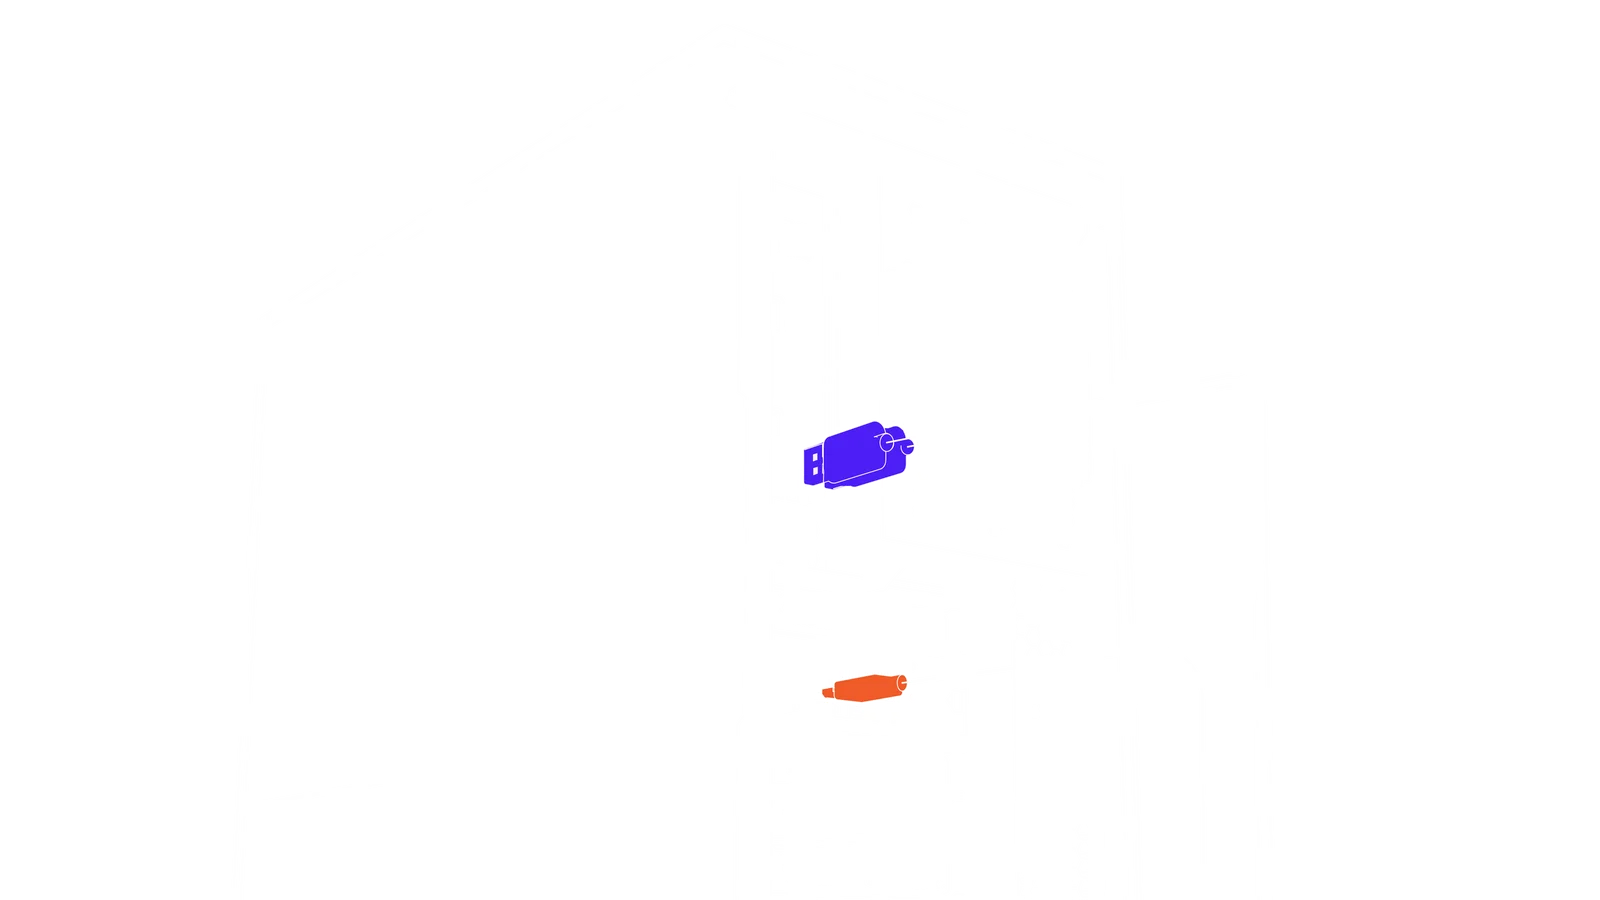
The 5-meter Beyond cable is not reversible. One side must be plugged into the headset, while the other must be connected to the Link Box.
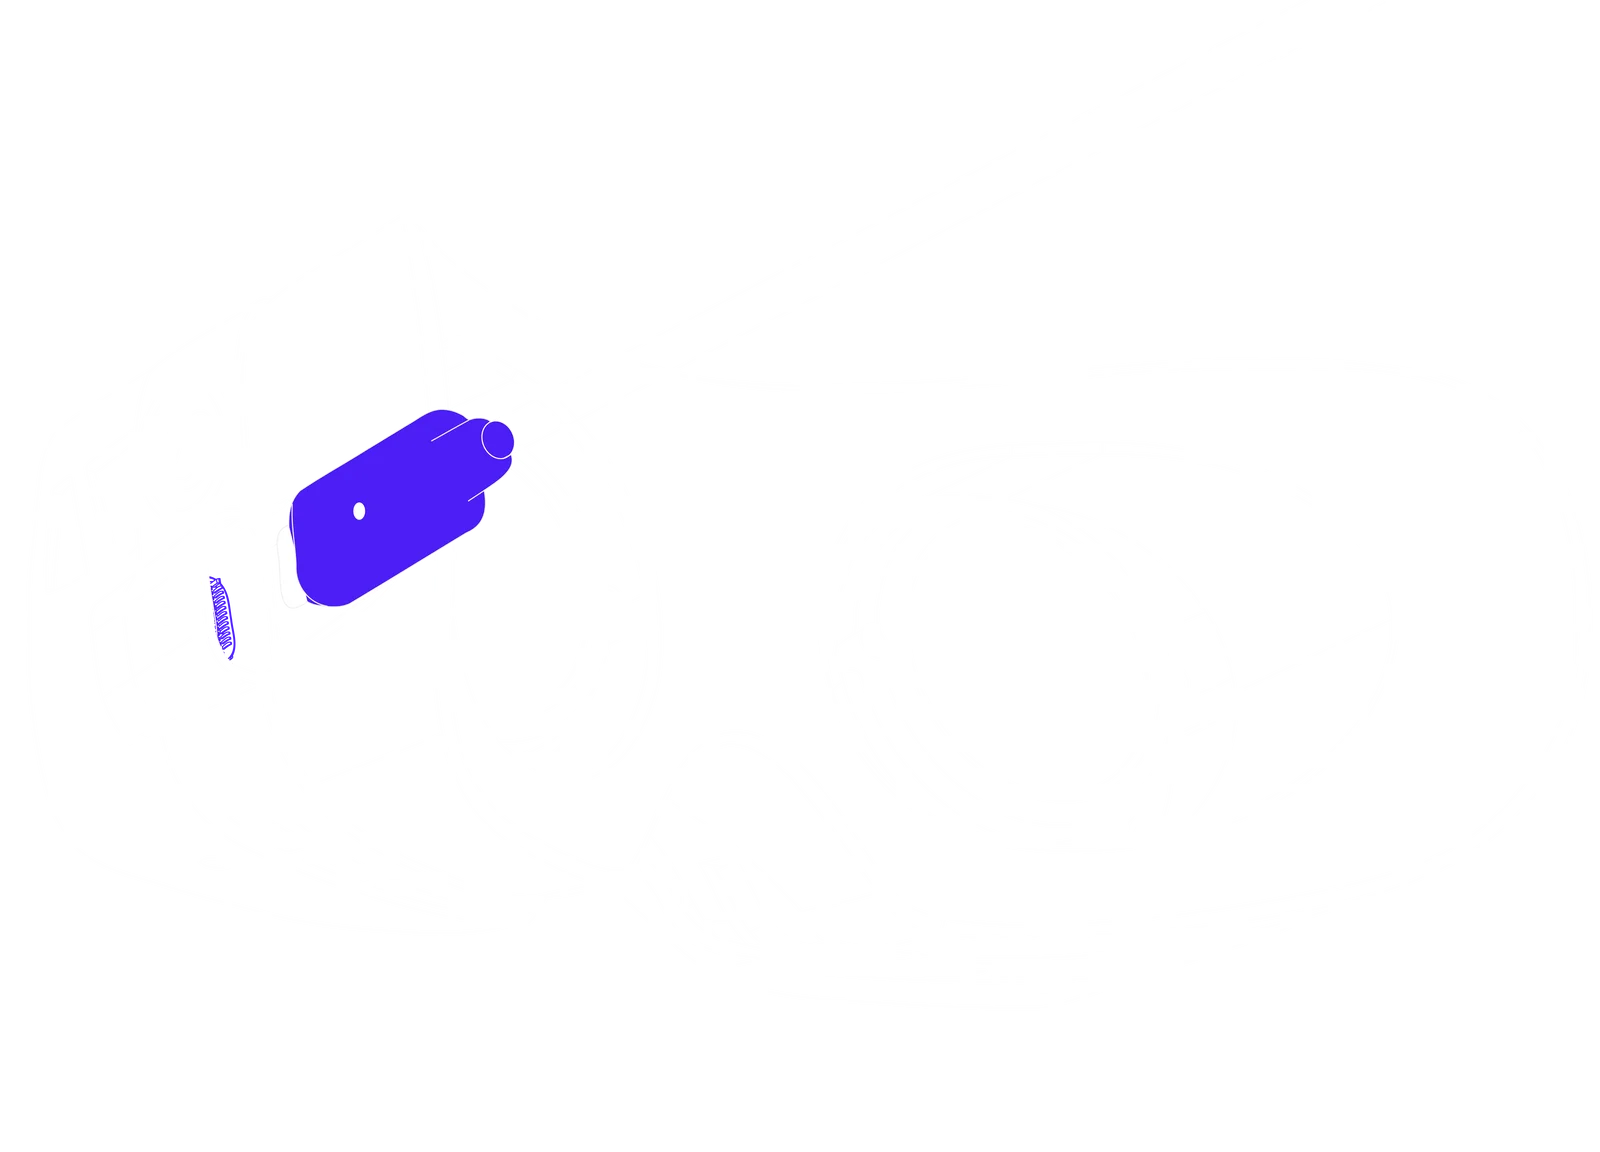
Headset side purple label
The cable end with the purple label and a dot plugs into the USB-C port on the left side of the headset. Beyond will not turn on if you connect it to the right-side USB-C port, which is for accessories such as the Audio Strap.
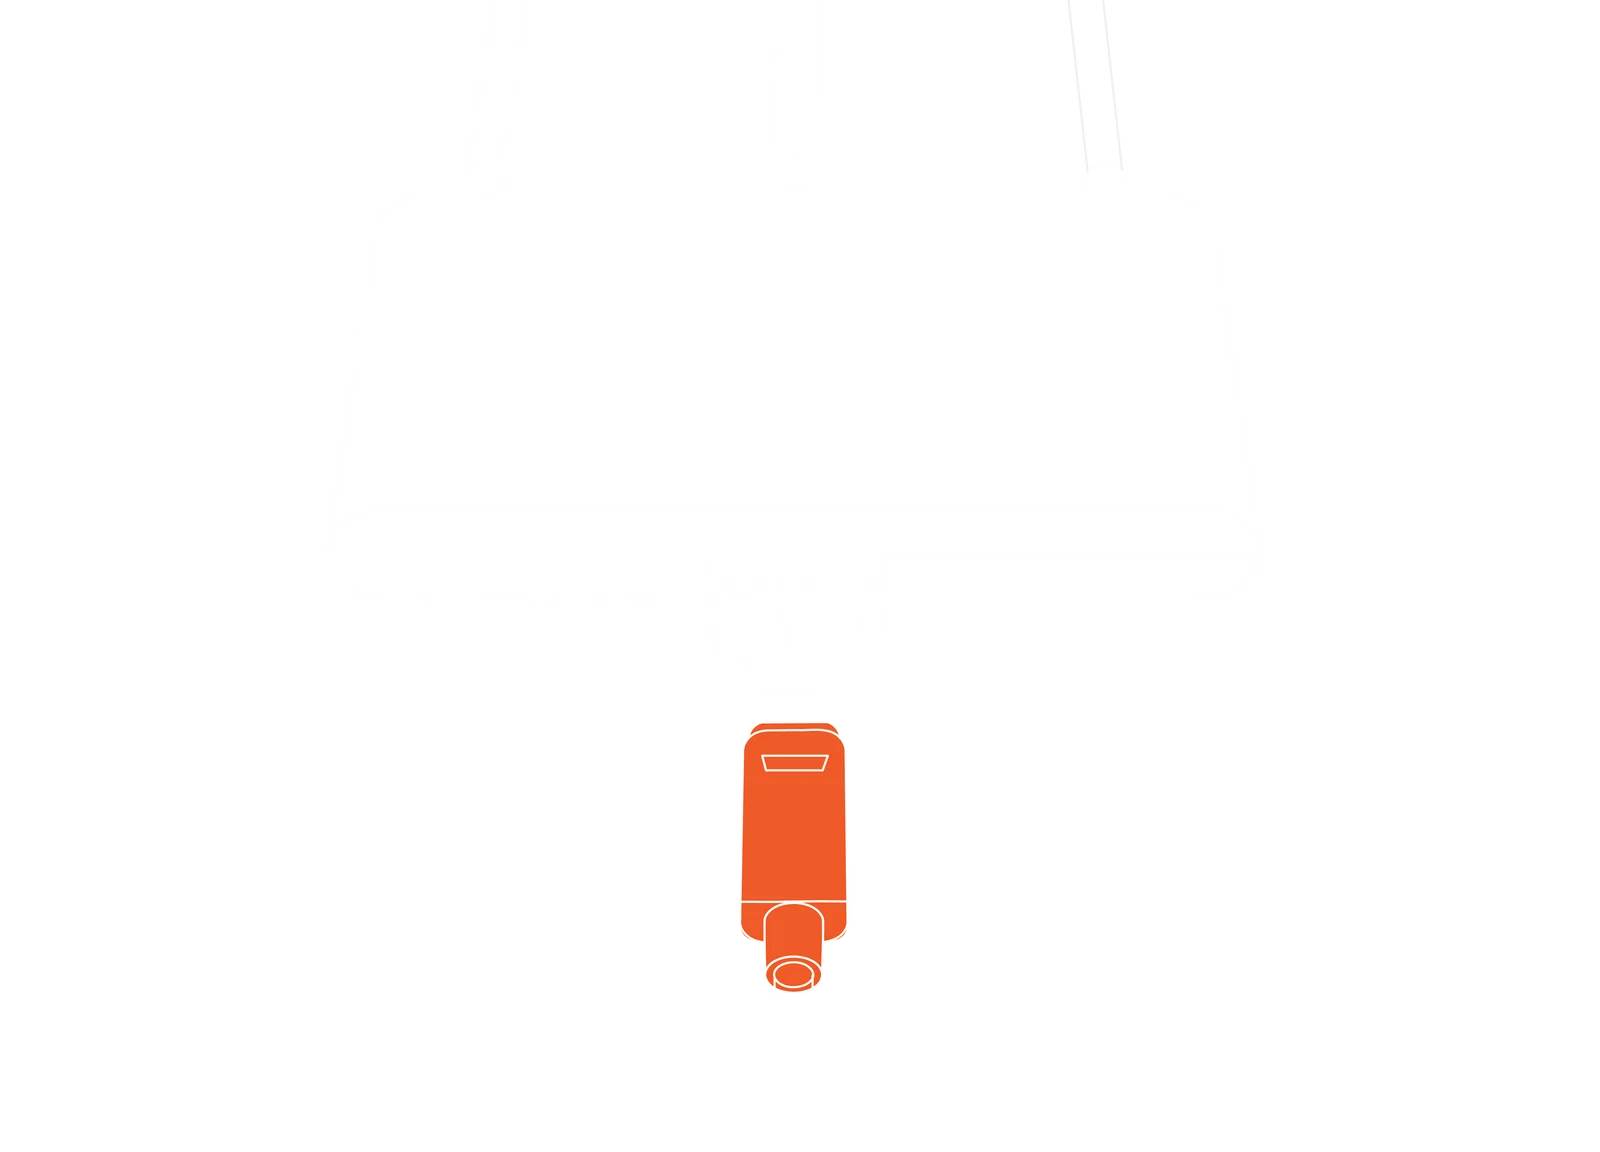
Link Box side orange label
The cable end with the orange label and a D-shaped plug connects to the Link Box, which has a matching D-shaped slot. Since the cable is not reversible, Beyond will not function if this side is connected to the headset.
Connect to PC
Connecting the Link Box to your PC
Connect the two USB 3.0 cables on the Link Box to two USB 3.0 ports on your computer. The Link Box's DisplayPort 1.4 cable must be connected directly to the Nvidia or AMD graphics card, not to your motherboard.
If you're using a laptop, you'll need a Mini-DisplayPort to DisplayPort 1.4 adapter, or if your laptop has USB-C DisplayPort (DP Alt Mode), a USB-C to DisplayPort 1.4 adapter.
Headset and Strap Adjustments
IPD · Beyond 2 only
Adjusting the IPD
Beyond 2 adds independent IPD (interpupillary distance) adjustment for each eye. To get the sharpest, most comfortable image, you'll first need to know your own IPD.
The headset's physical IPD spans 53 mm–70 mm (optically accommodated from 48 mm–75 mm).
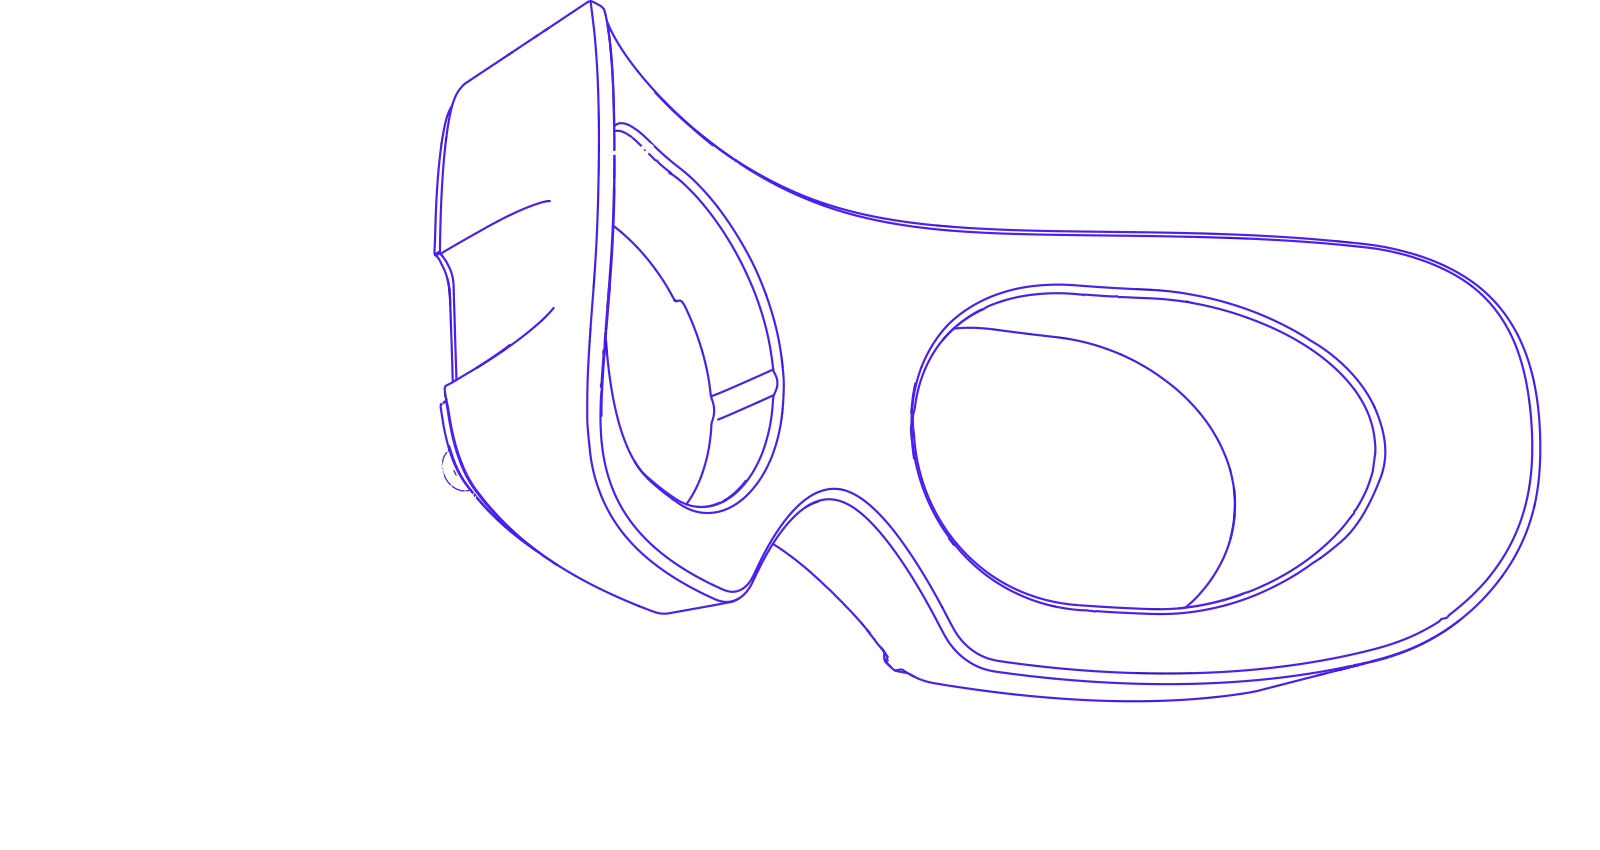
Remove the face cushion or light seal
Carefully detach the facial interface so you can see the IPD scale on the inside of the headset, then decide which eye to adjust.
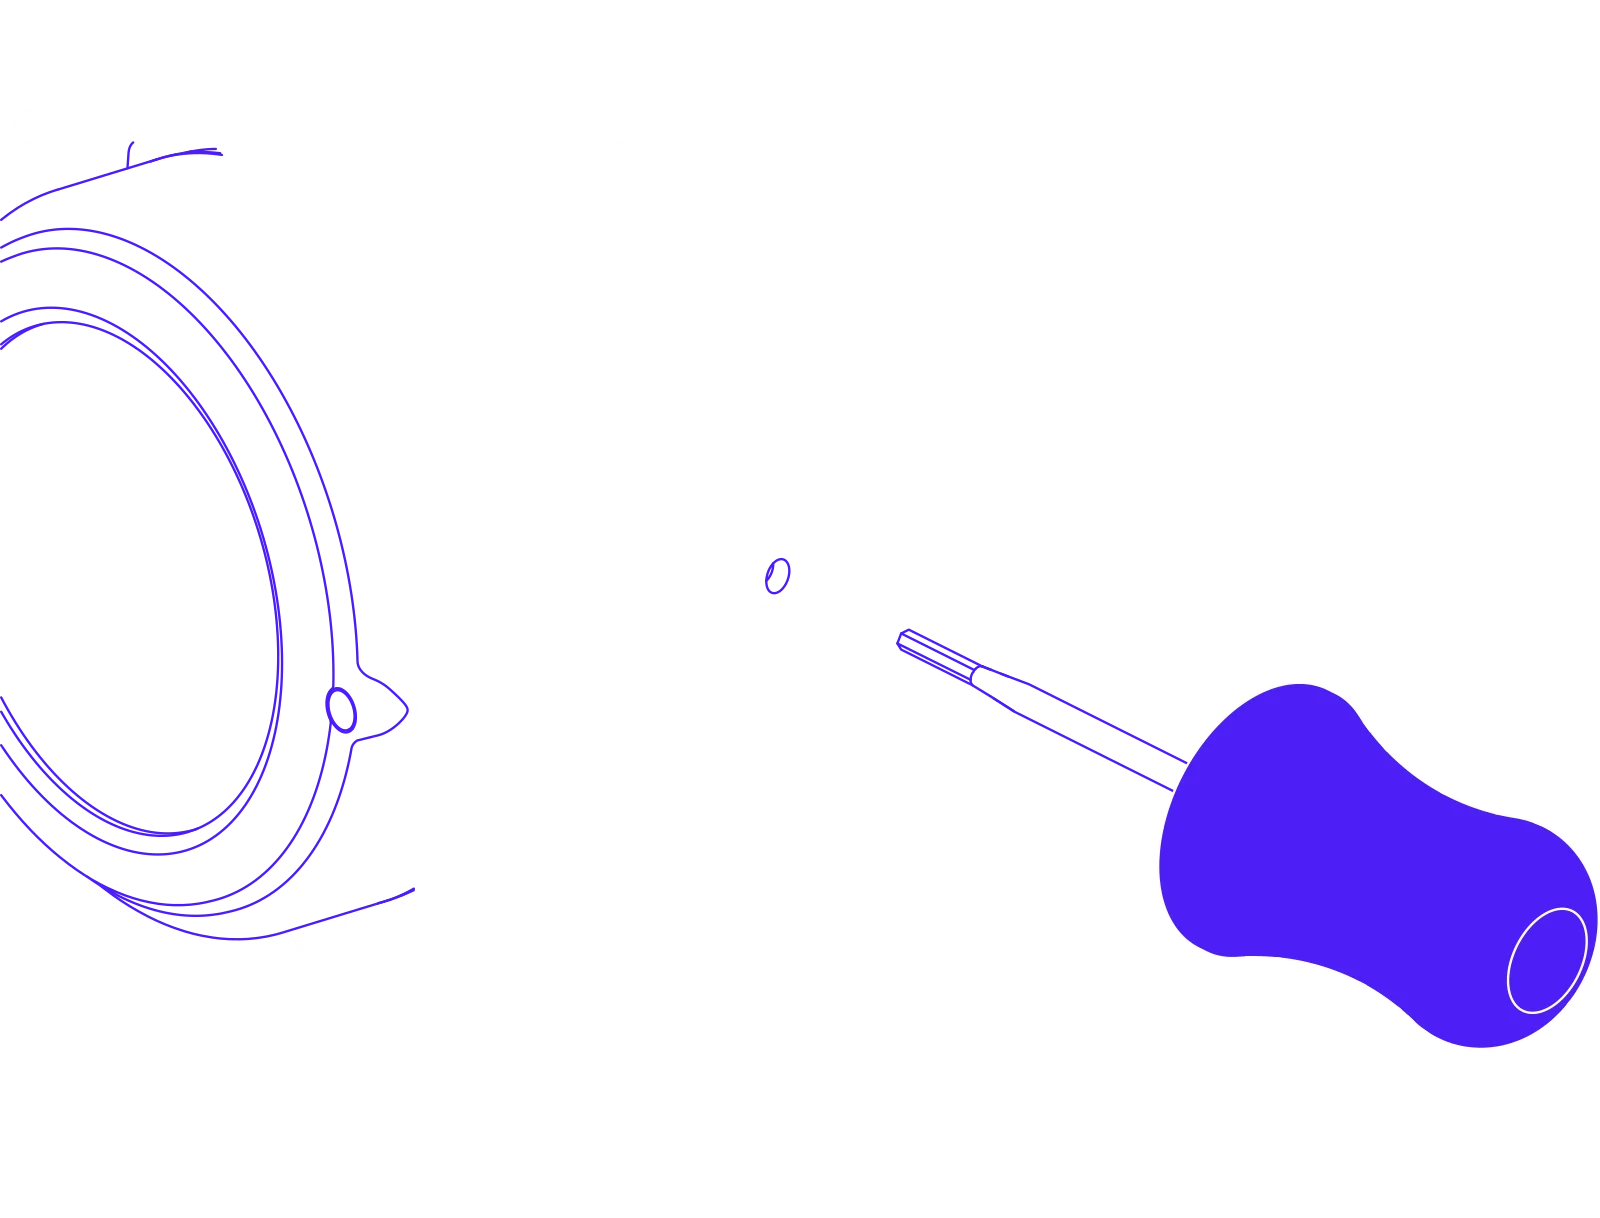
Insert the IPD tool
On each side of the cover shell, find the narrow slot. Insert the IPD tool straight into that slot and push gently until it's fully seated.
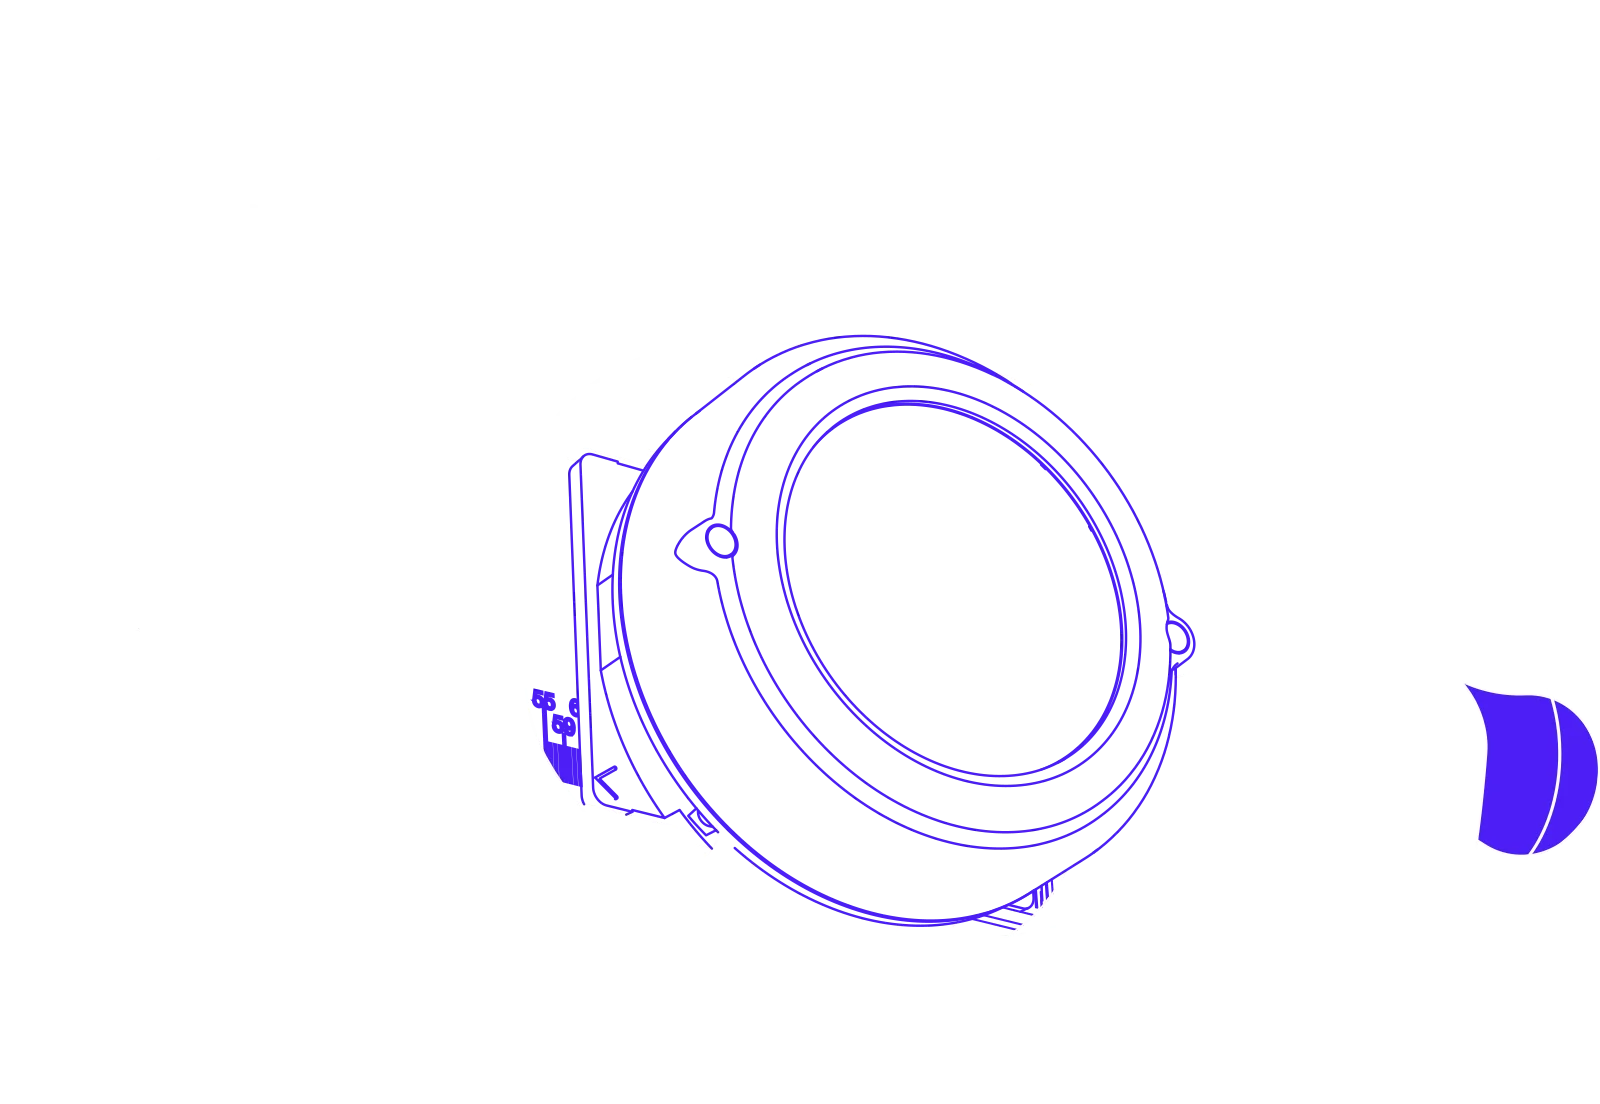
Align and rotate to your IPD
Hold the headset at eye level so you can clearly see the millimeter markings (53–70 mm). Slowly rotate the tool; the optics slide inward or outward. Stop once the marker lines up exactly with your known IPD value.
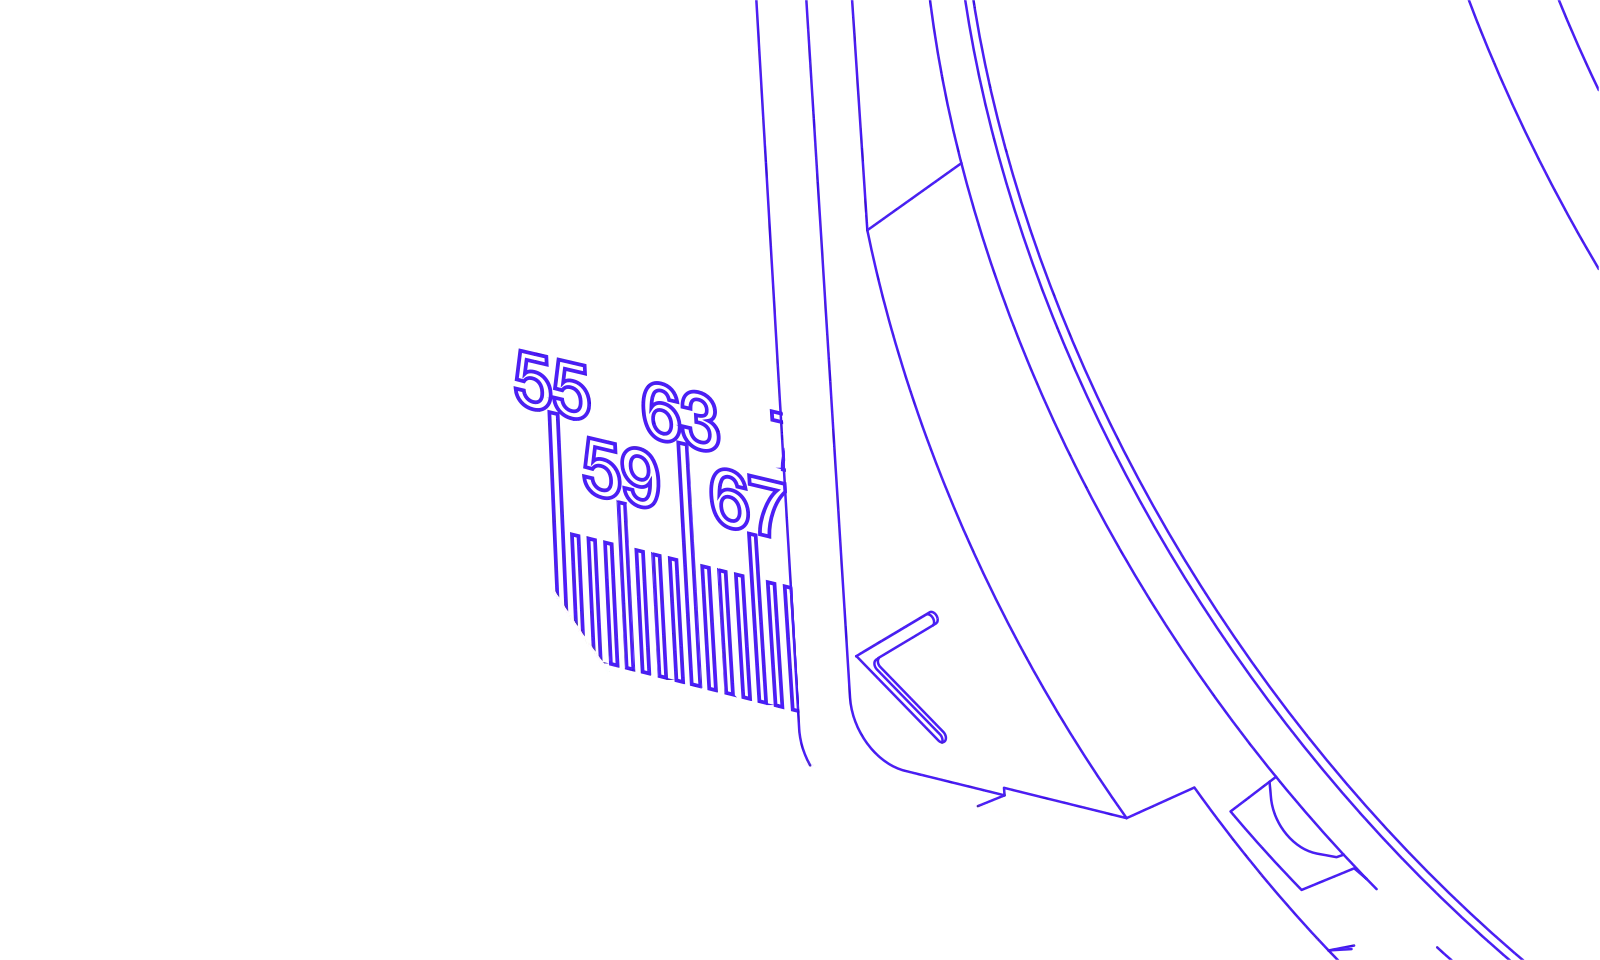
Verify IPD on the Measurement Scale
After adjusting, look closely at the markings inside the headset to ensure the indicator aligns with your IPD. In this example the scale reads 69 mm, confirming your setting.
Attempting to move the optic module wider than its widest, or narrower than its narrowest setting, may damage sensitive internal components.
Soft Strap
Adjusting the Soft Strap
Find the right tightness for a comfortable Beyond experience. For improved ergonomics, try attaching the included Top Strap. For ultimate comfort and built-in headphones, we recommend the Bigscreen Beyond Audio Strap.
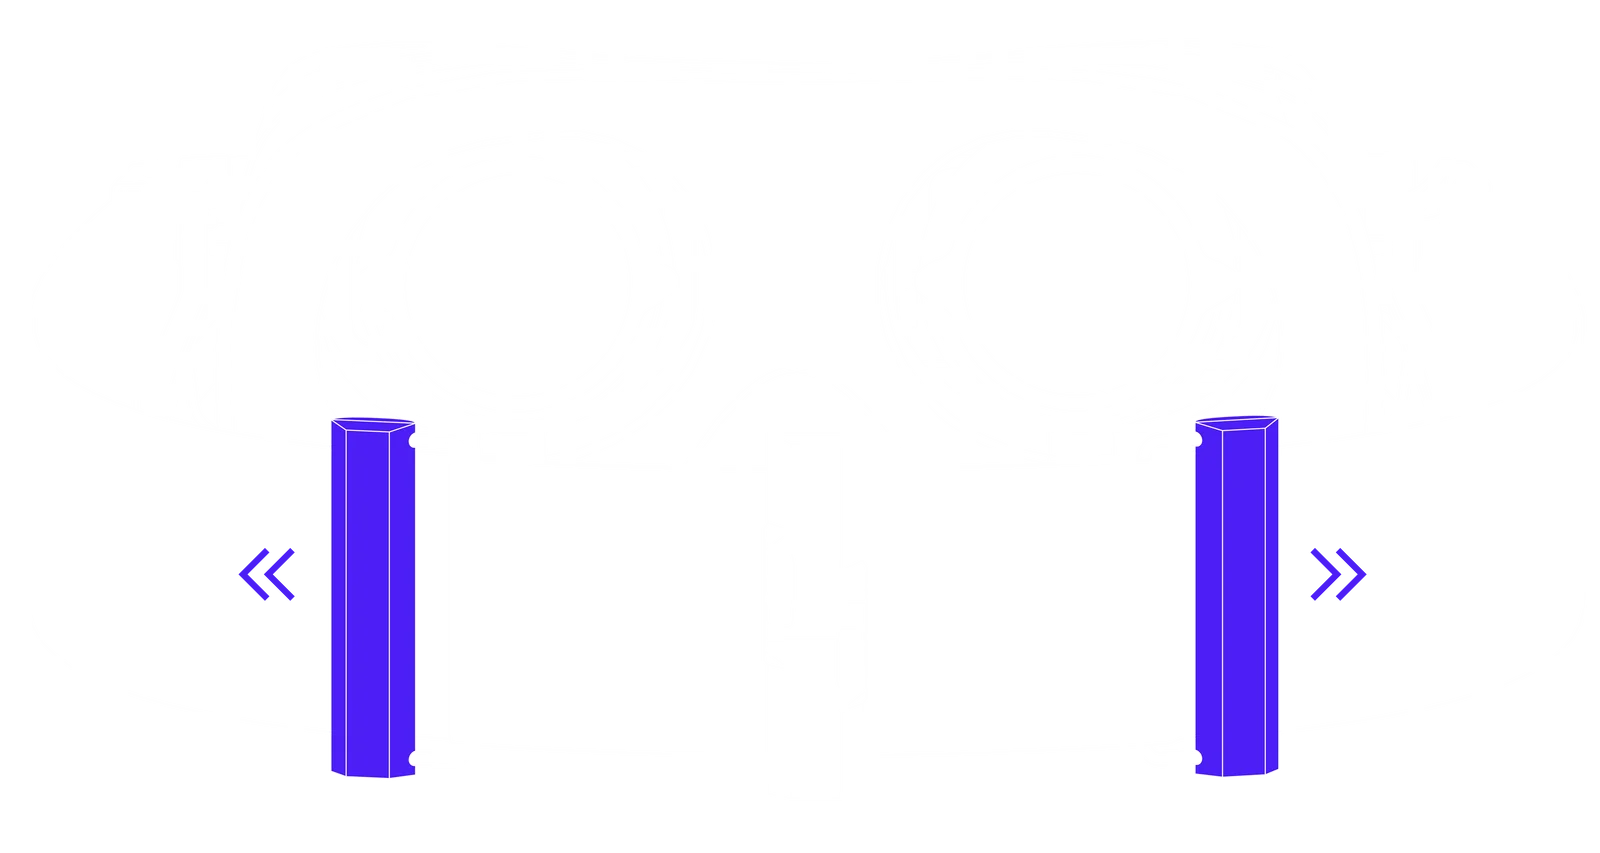
Tightening the Strap
Grab each of the strap clips with your thumbs and index fingers. Simultaneously pull both strap clips outward to tighten the strap.
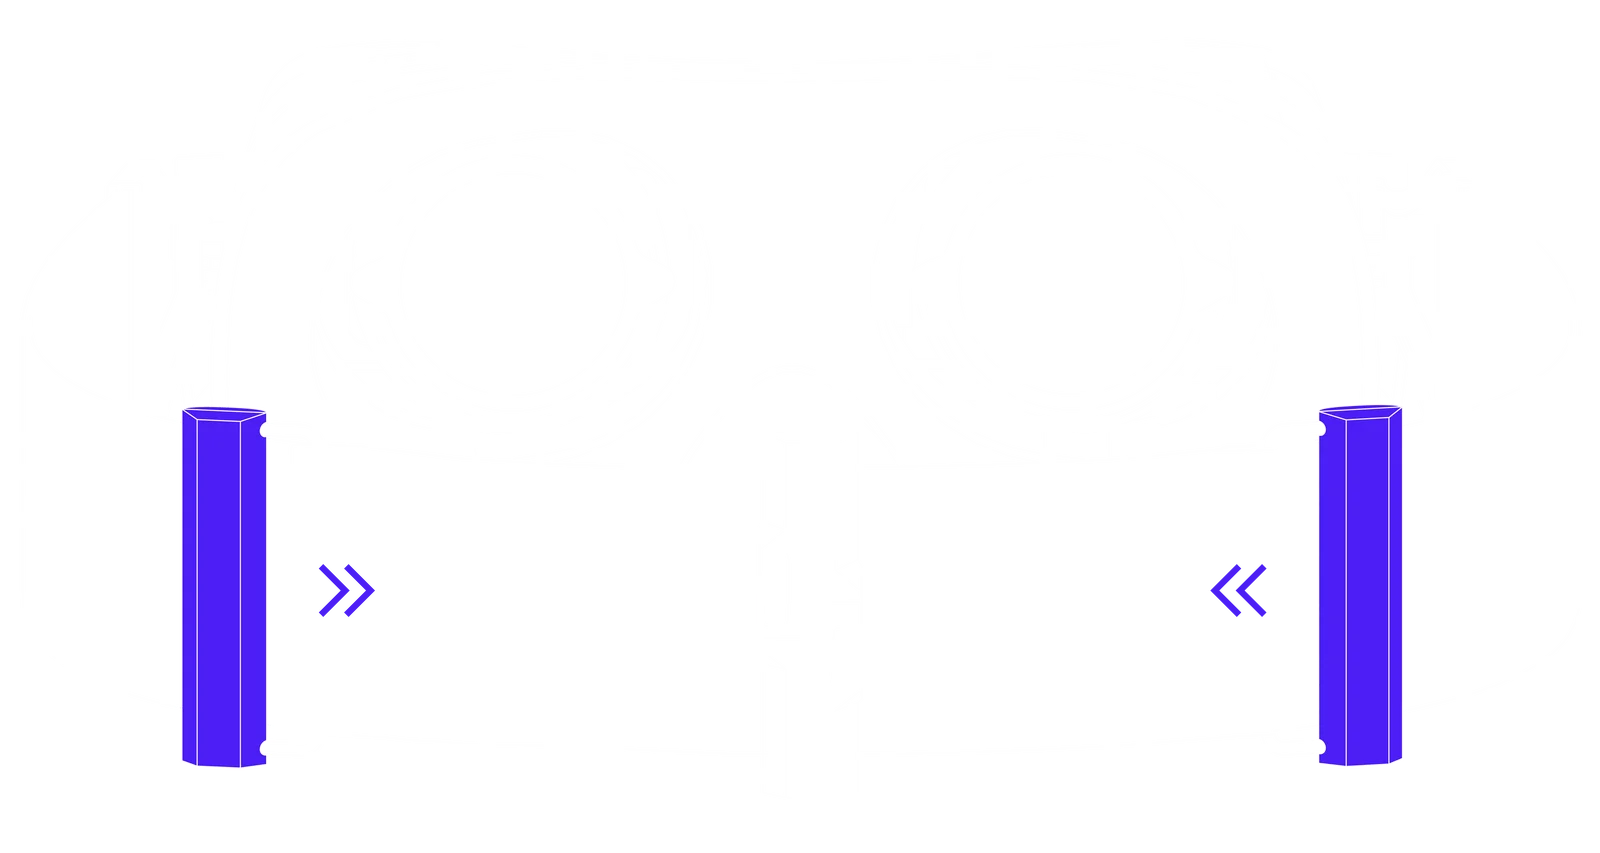
Loosening the Strap
To loosen, grab both strap clips with your thumbs and index fingers and reverse the process: simultaneously pull both strap clips inward.
Cable Routing · Beyond 2 only
Routing the Cable Through the Cable Holder
The cable holder prevents tangling and damage, ensuring smooth movement. The rubber protects against bending, extending the cable's life.
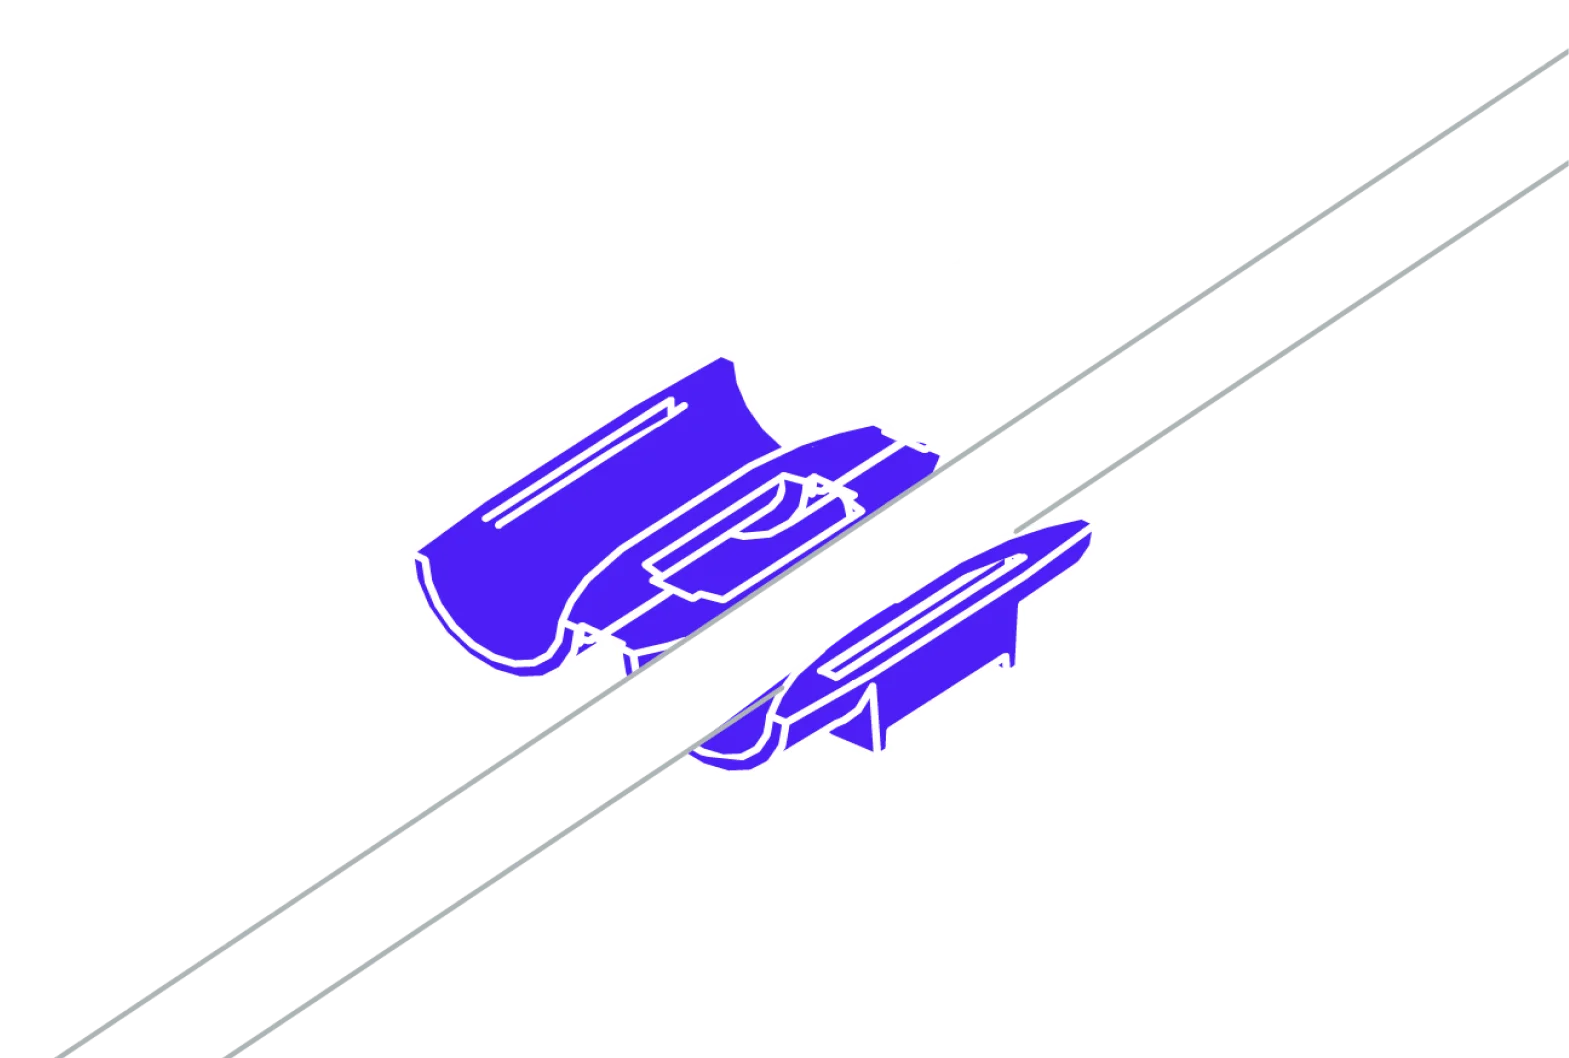
Prepare the Cable Holder
Take the cable holder rubber and wrap it around the Beyond cable as shown.
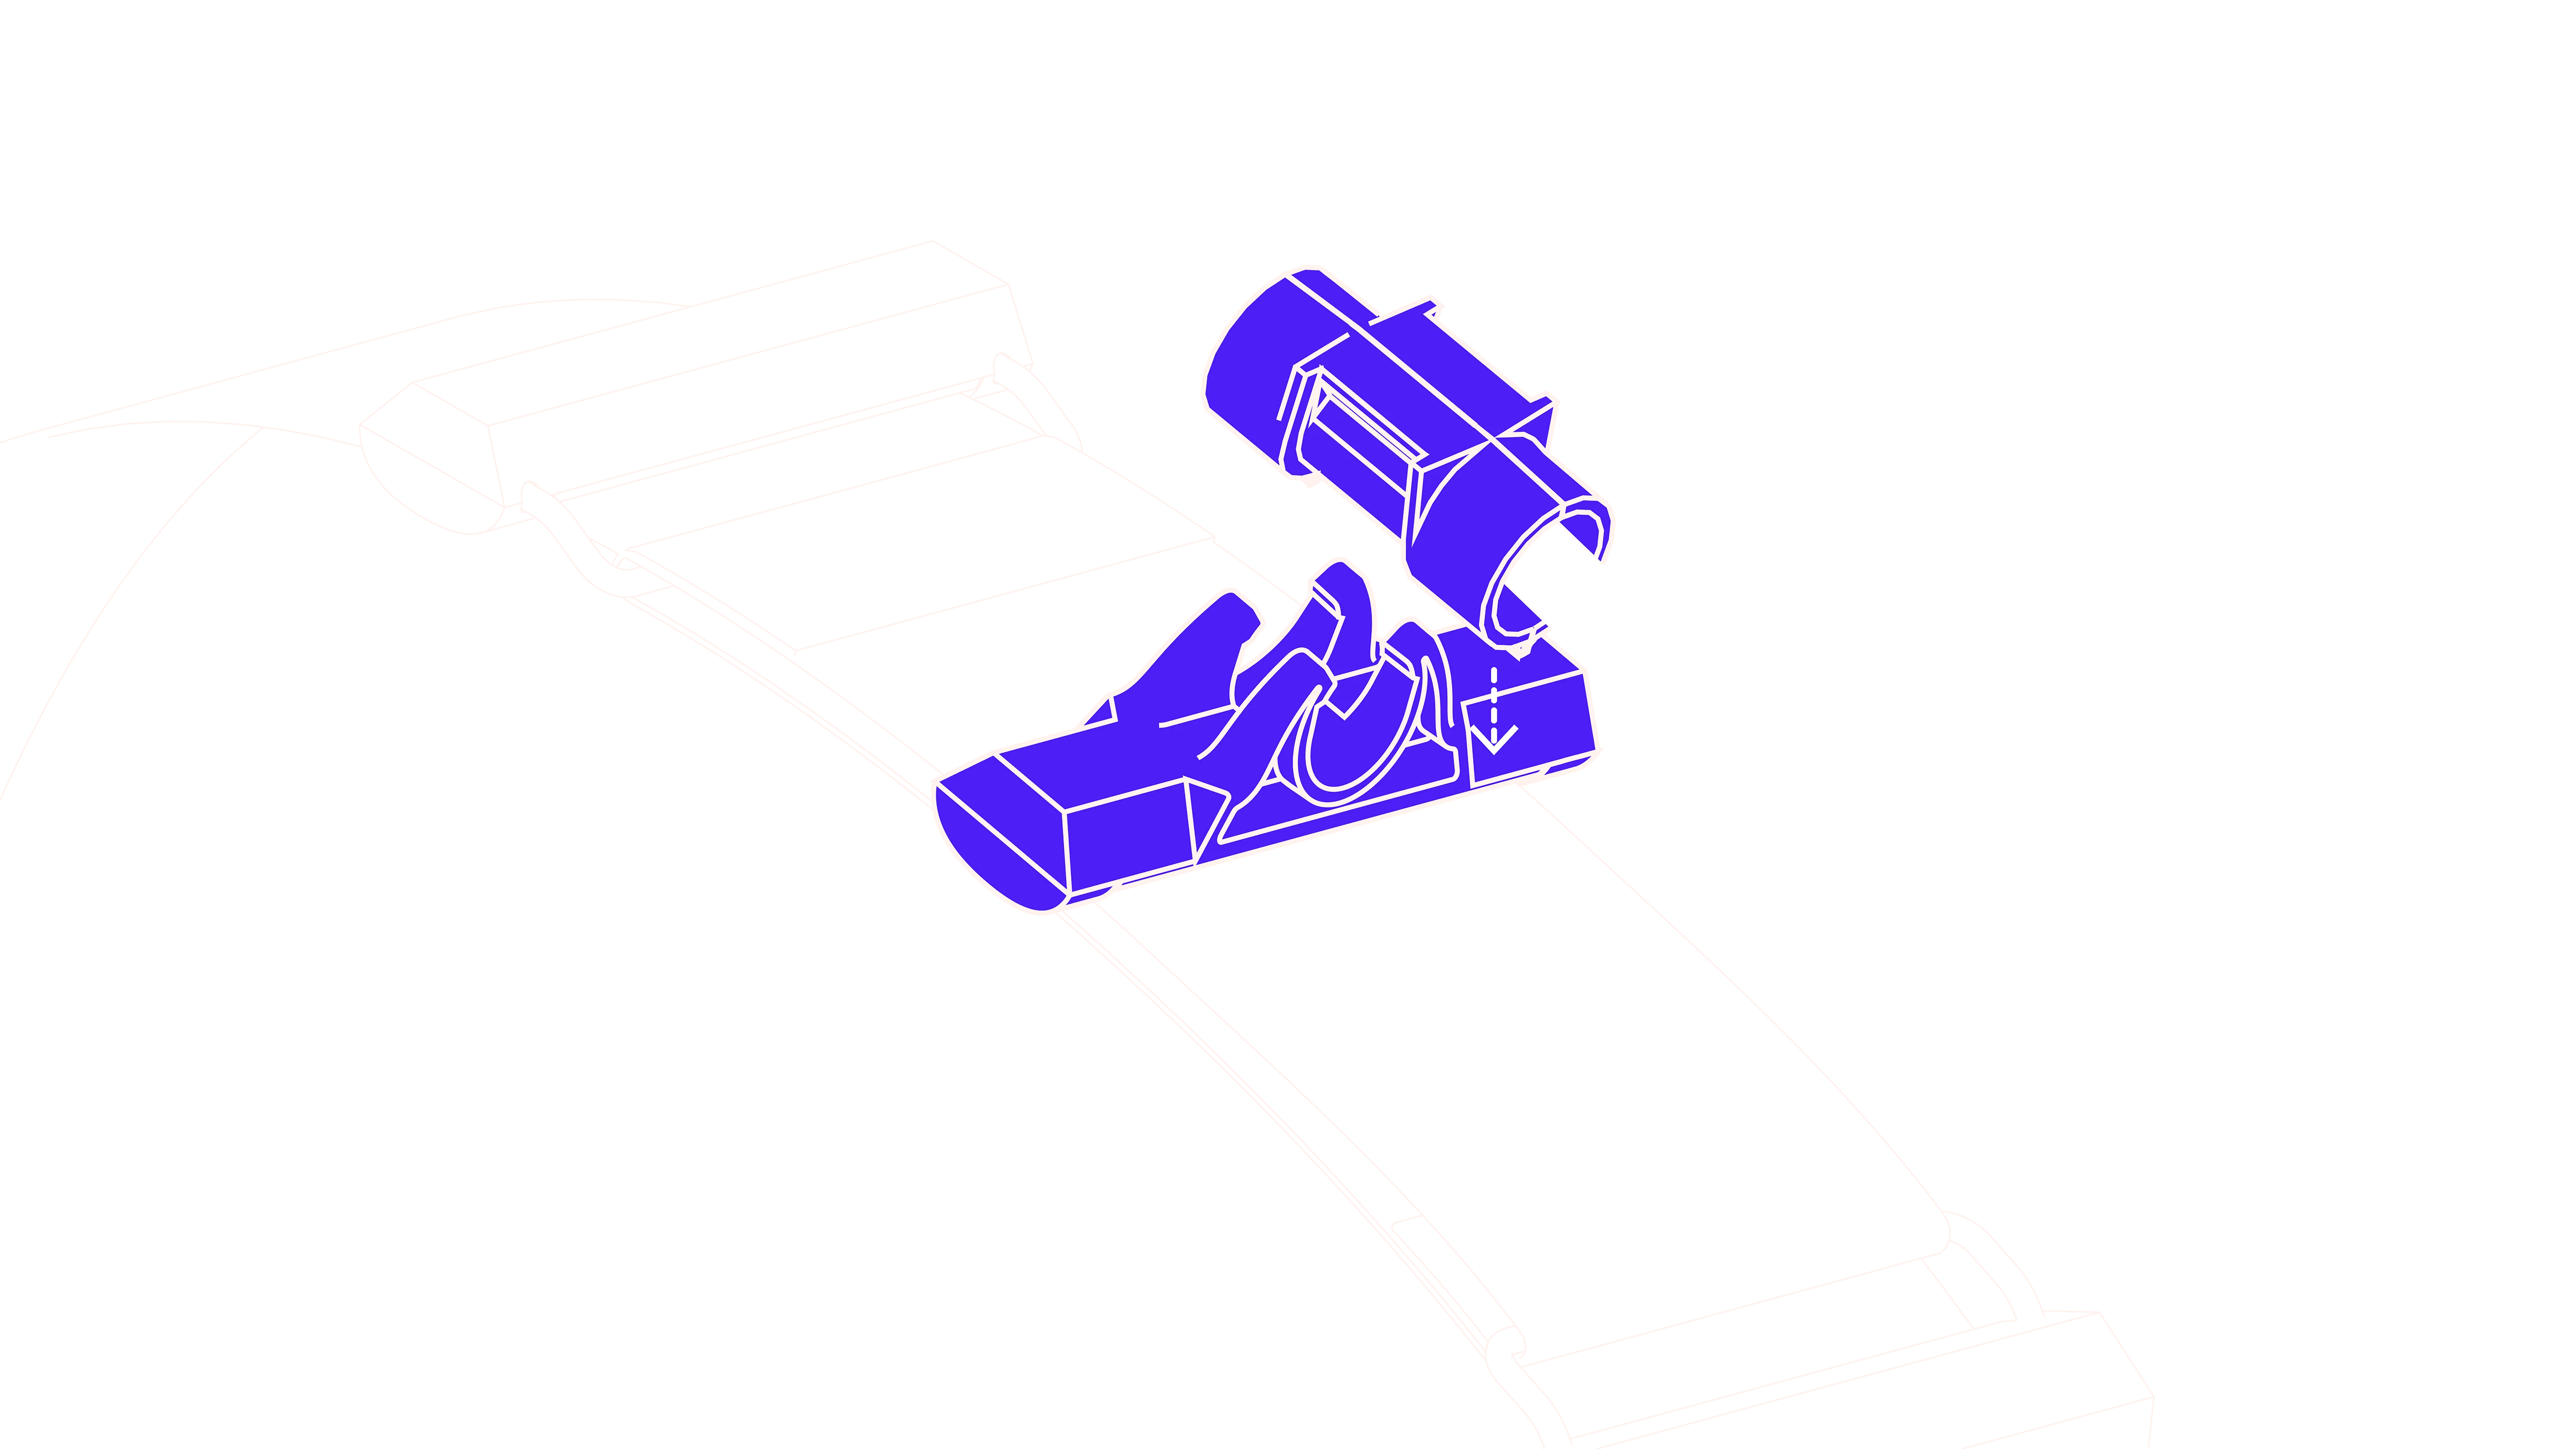
Attach to the Soft Strap
Position the cable holder rubber into the cable holder clip on the back of your Soft Strap. Ensure it fits securely and snugly.
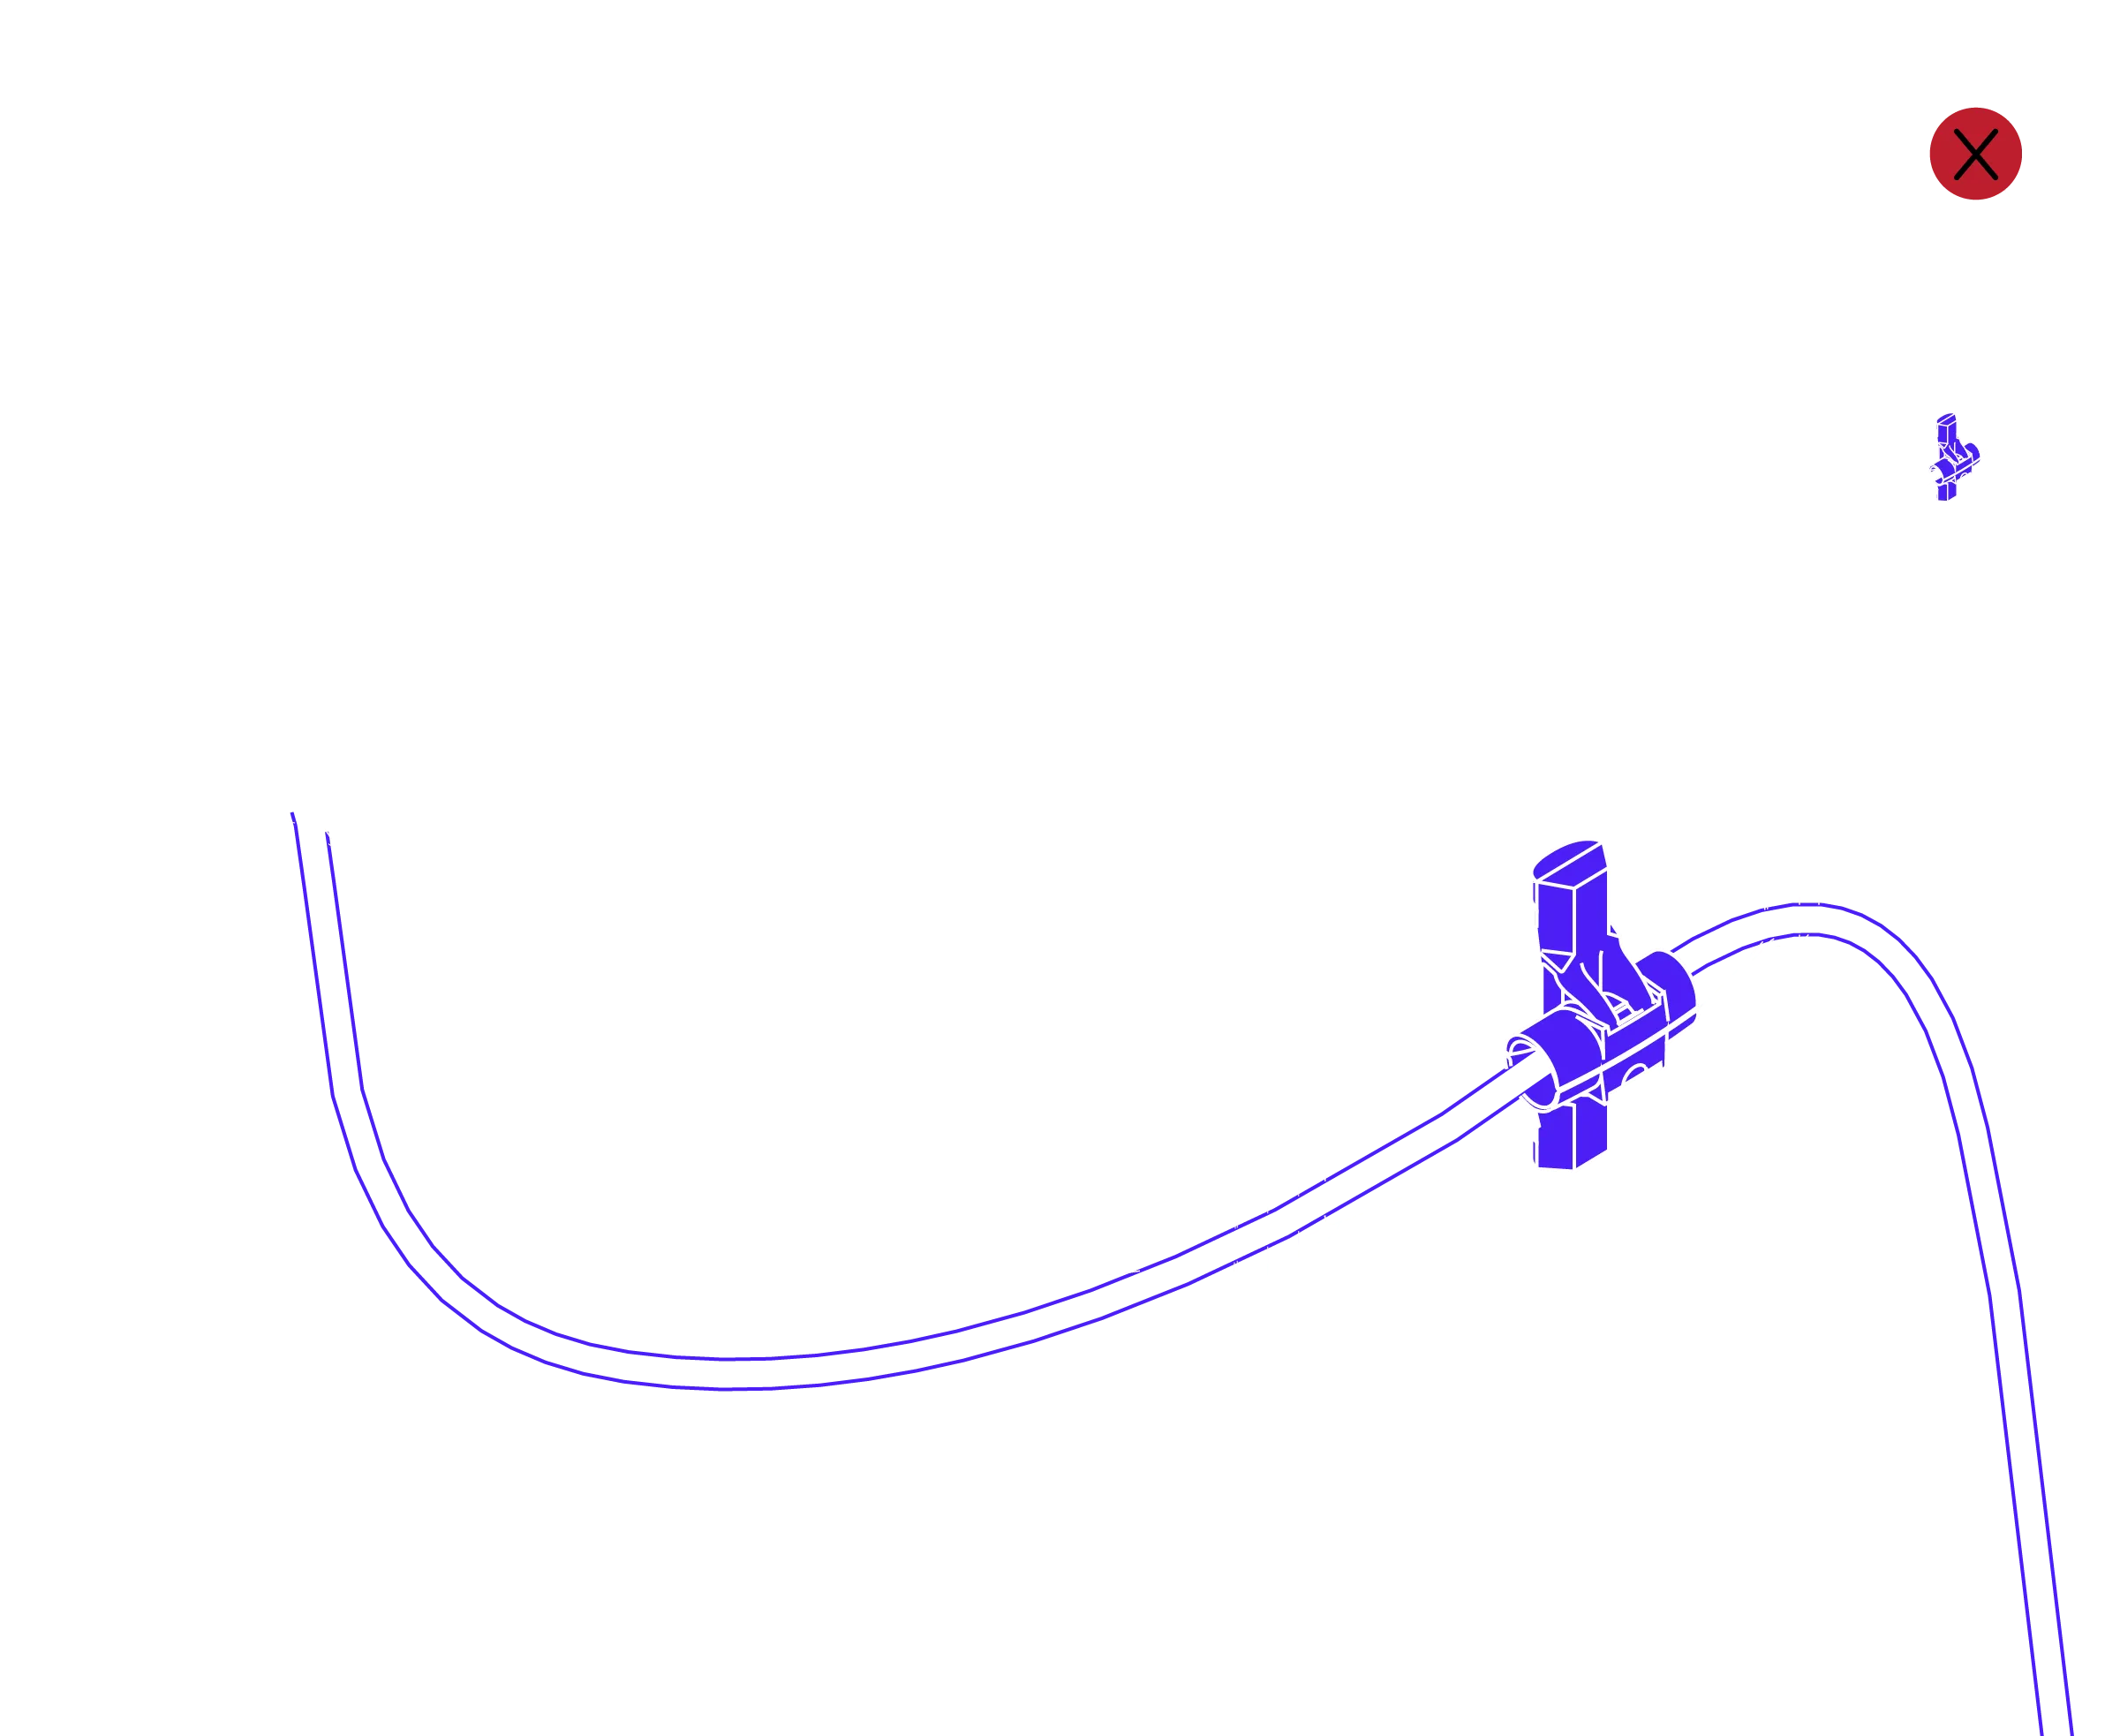
Clip the Cable to the Soft Strap
Slide the cable through the Cable Clip and it will be held rigidly, so you can route it behind your back. Leave enough cable near the left side of the headset for unrestricted head movement.
Top Strap
Installing Your Top Strap
The top strap is an optional accessory designed to enhance comfort. While it's not mandatory, you may find it beneficial. Installation is a straightforward, three-step process.
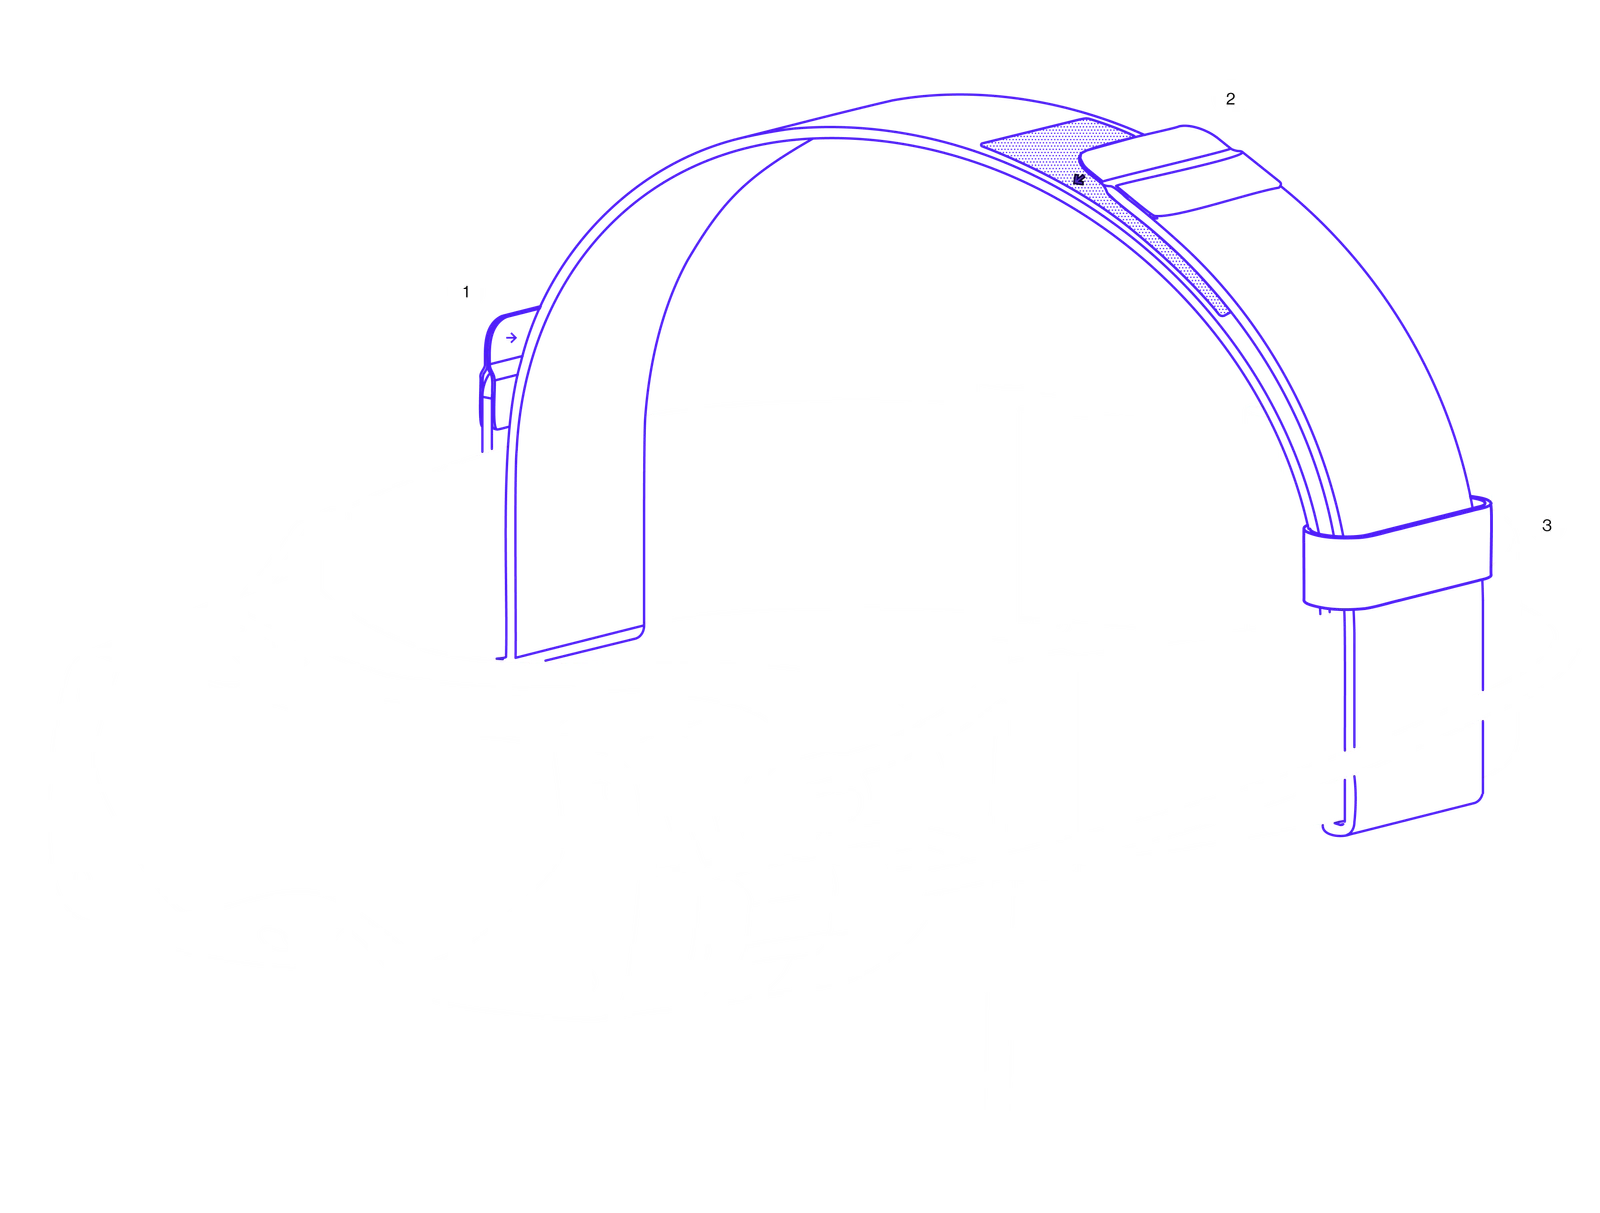
Attaching the Velcro Ends
Identify the two Velcro sides. One has a "short patch," the other a "long patch." Loop the short-patch end under one side of the soft strap and wrap until the Velcro meets and holds. Do the same with the long-patch end.
Adjusting for Comfortable Fit
Place the strap with the Beyond on your head. For a comfortable fit, unstick the long-patch end and adjust its length as needed. Move your head gently to check the fit holds without discomfort.
Securing the Strap in Place
To finish, wrap the small Velcro strip that comes with the top strap around the base of the long-patch end. This keeps the strap firmly in position and prevents slipping during use.
Download Steam and install SteamVR
Beyond works with all the VR games and applications on Windows PCs. To get started, you'll need to install SteamVR from Steam.
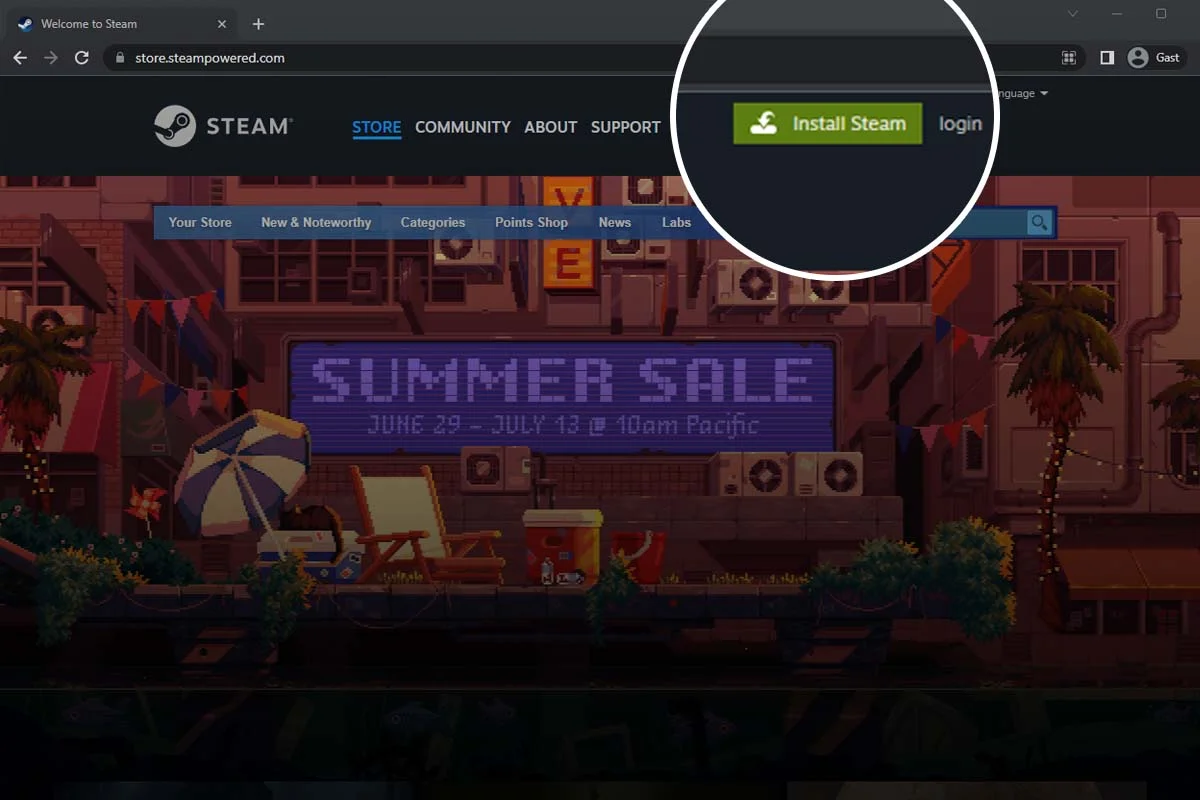
Downloading Steam
Visit steampowered.com and click on the green button labeled ‘Install Steam’ located in the top right corner of the website.
Download Steam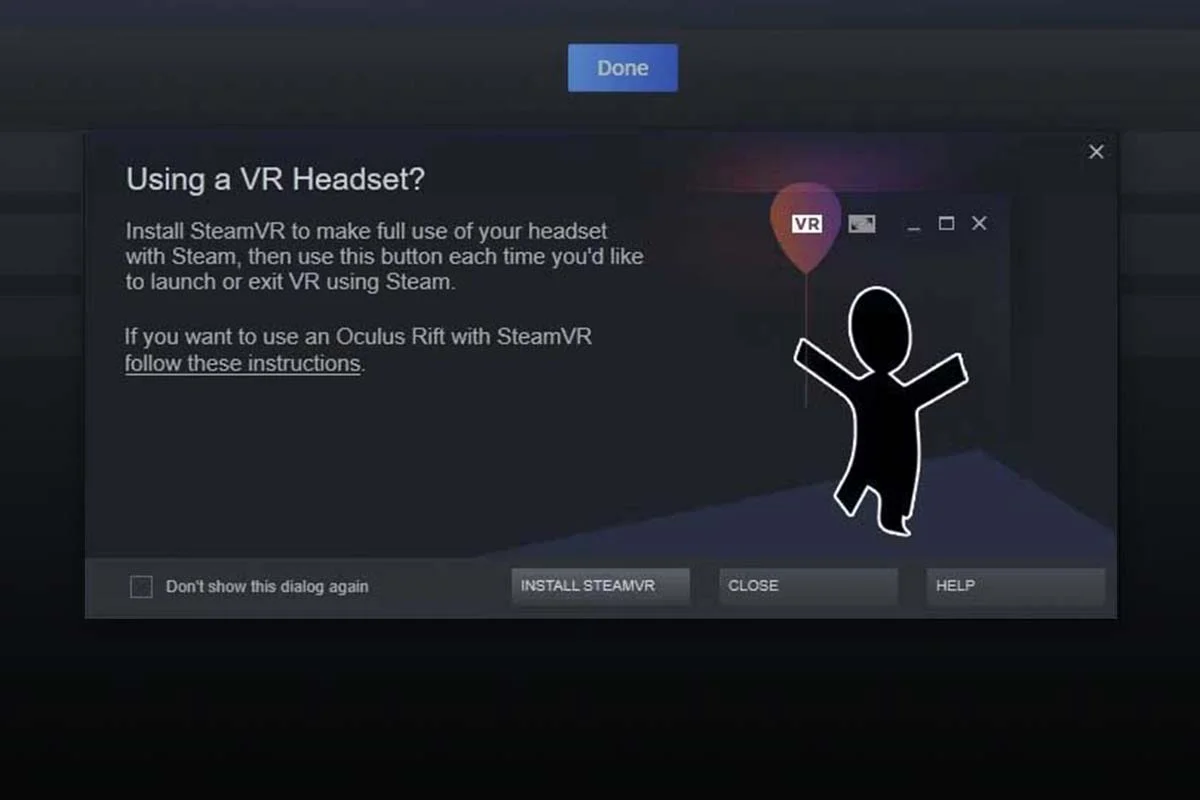
Installing SteamVR
Steam should automatically display a pop-up to install SteamVR when you connect your Beyond. If that doesn’t happen, search for SteamVR on Steam and install it.
The Bigscreen Beyond Utility
Once SteamVR is installed, Steam automatically downloads the Bigscreen Beyond Utility, a tiny app that enhances your headset experience. It lets you adjust refresh rate, brightness, fan speed, and LED color, and minimizes to your system tray when not in use.
Beyond Utility
Your headset settings, one click away
The Beyond Utility installs automatically with SteamVR and runs in your system tray, ready whenever you want to adjust your headset.
Download Utility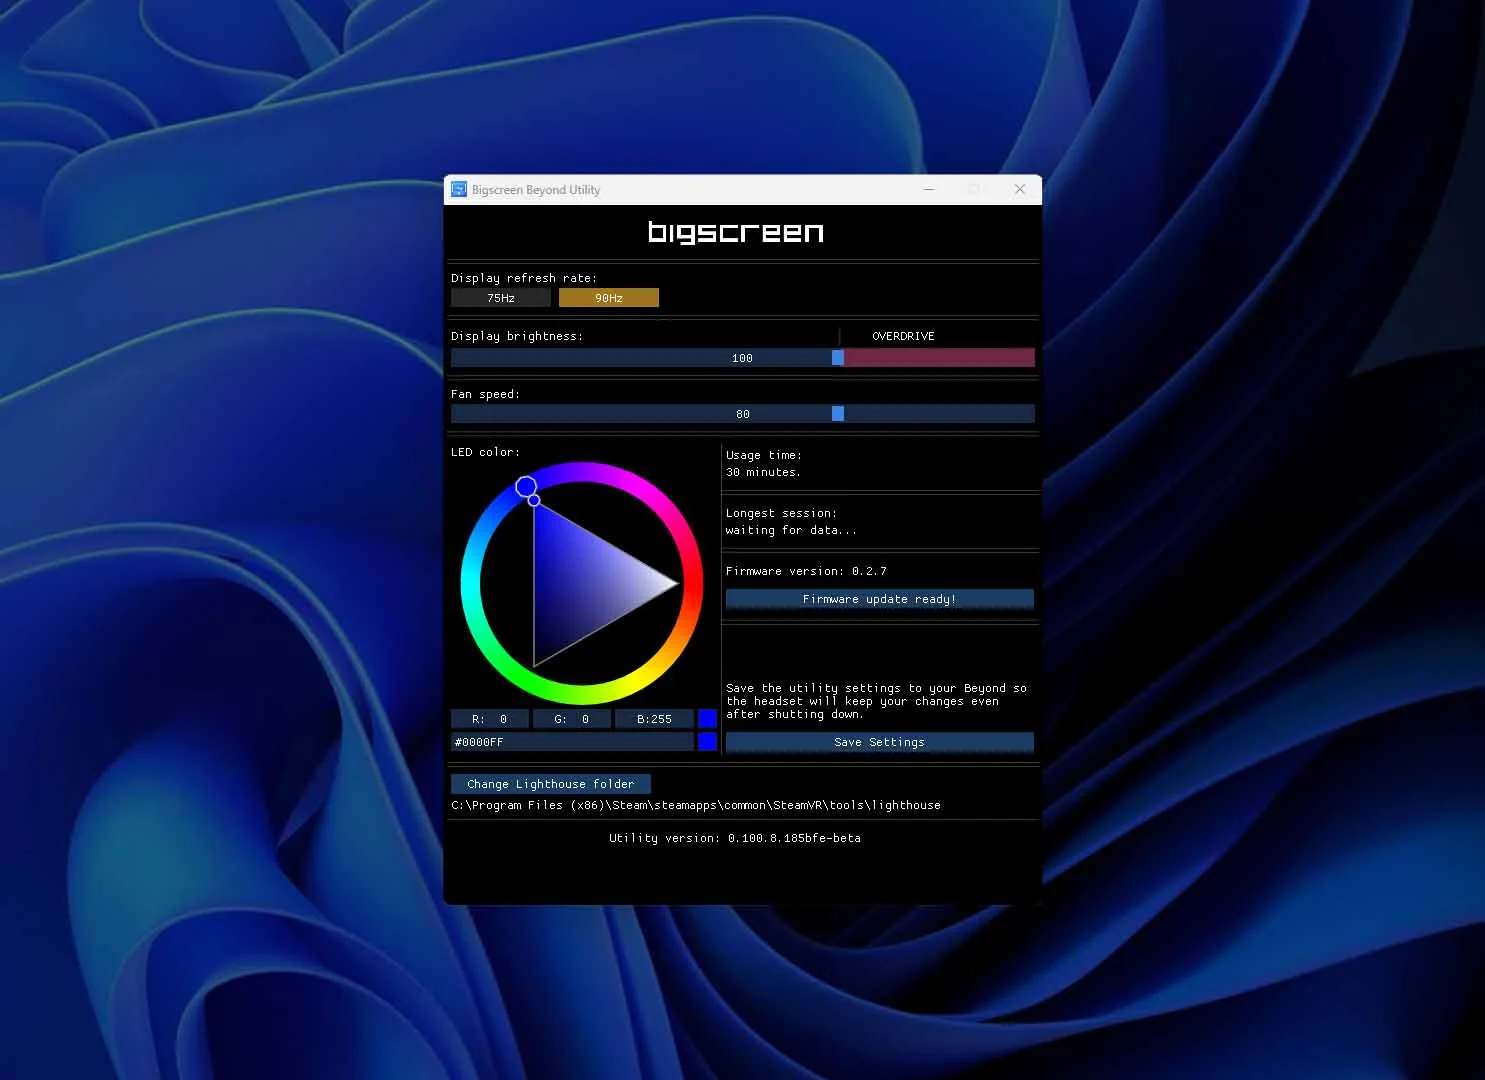
Firmware
Make sure your Beyond is using the latest firmware
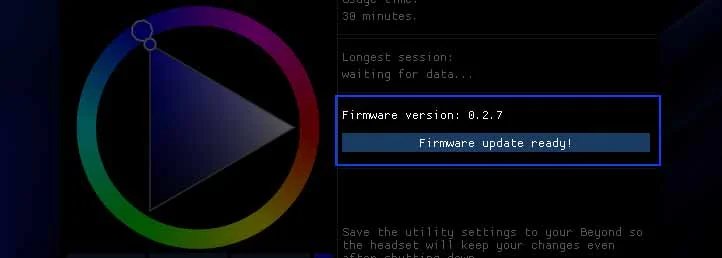
It's essential to keep your Beyond device updated with the latest firmware. Check the firmware status using the Beyond Utility on your computer. If you see a “Firmware Update Ready” notification, initiate the update by clicking on it.
Do not power off or disconnect your Beyond headset during the update. Likewise, avoid touching or shutting down your computer. Any interference can disrupt the update process and impact your device's functionality.
Cleaning & Maintenance
Essential Maintenance for Your Beyond
Maintaining your Bigscreen Beyond is vital for its longevity and the best experience. Proper care prevents damage to sensitive components and keeps your view clear and immersive.
General Precautions
Never use Alcohol or Liquids
Steer clear of cleaning with alcohol (IPA) or any other liquids. These can damage the electronics, exterior shell, and optics.
Keep Out of Direct Sunlight
The optics act as a magnifying glass; sunlight can permanently damage the display and optics. Always store your Beyond away from any sunlight.
Avoid Extreme Temperatures
Keep the headset away from very hot or cold environments. Store it in a moderate temperature setting to protect its delicate components.
Optics
Cleaning and Maintaining the Optics
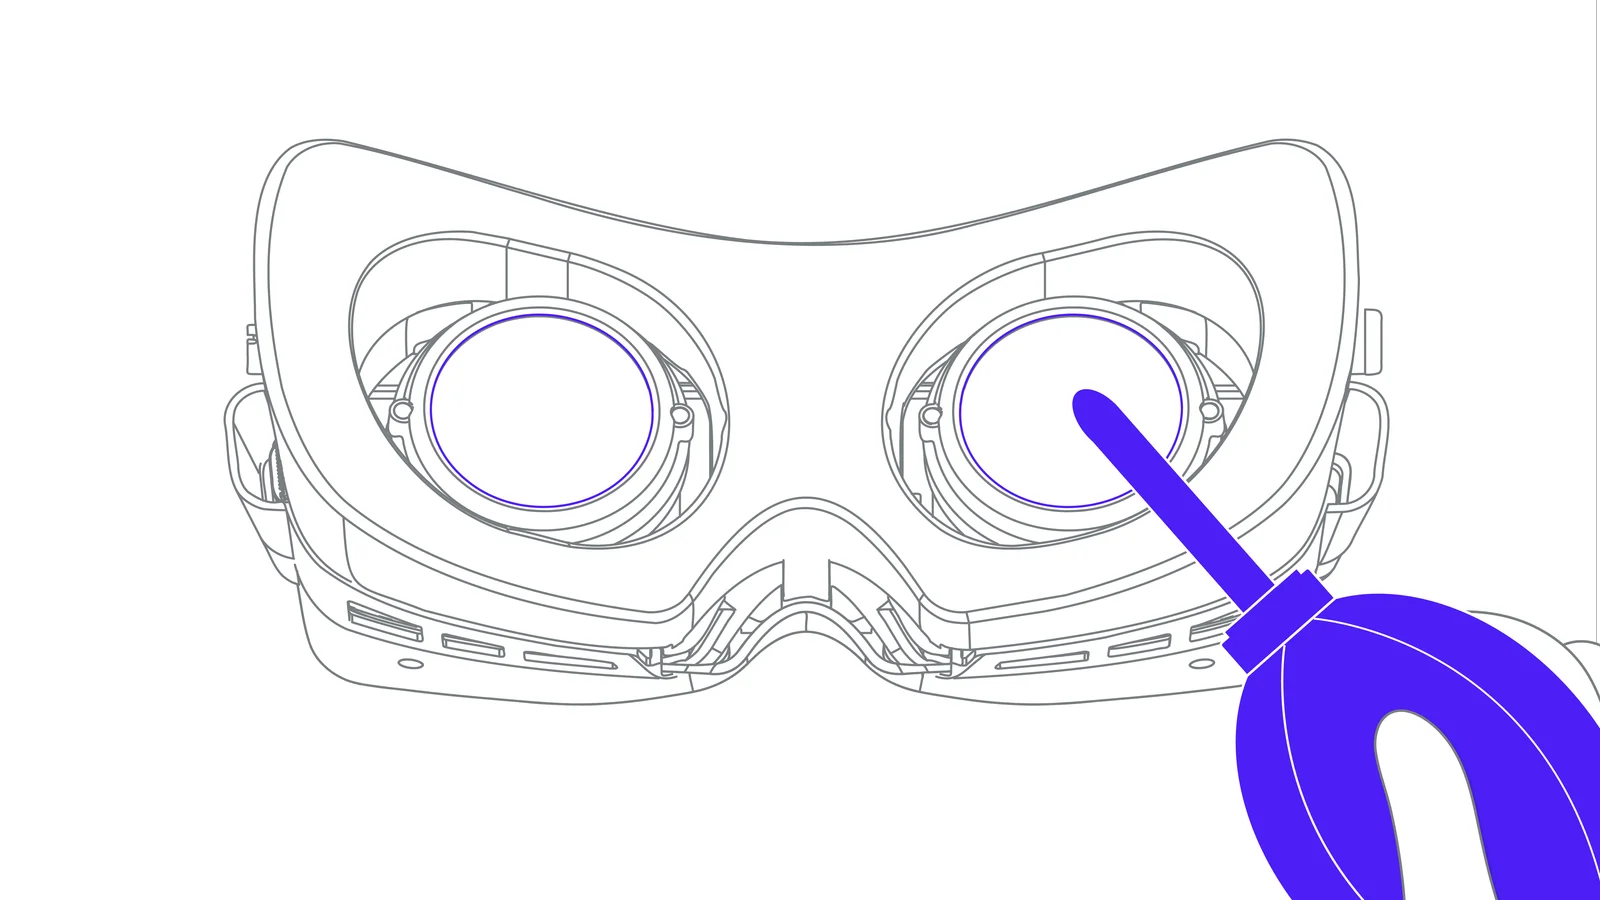
Use a Camera Lens Blower for Dust
Before cleaning the lenses, use a camera lens blower to gently remove surface dust so the lenses stay scratch-free. Avoid compressed air; only a dedicated lens blower is advised.
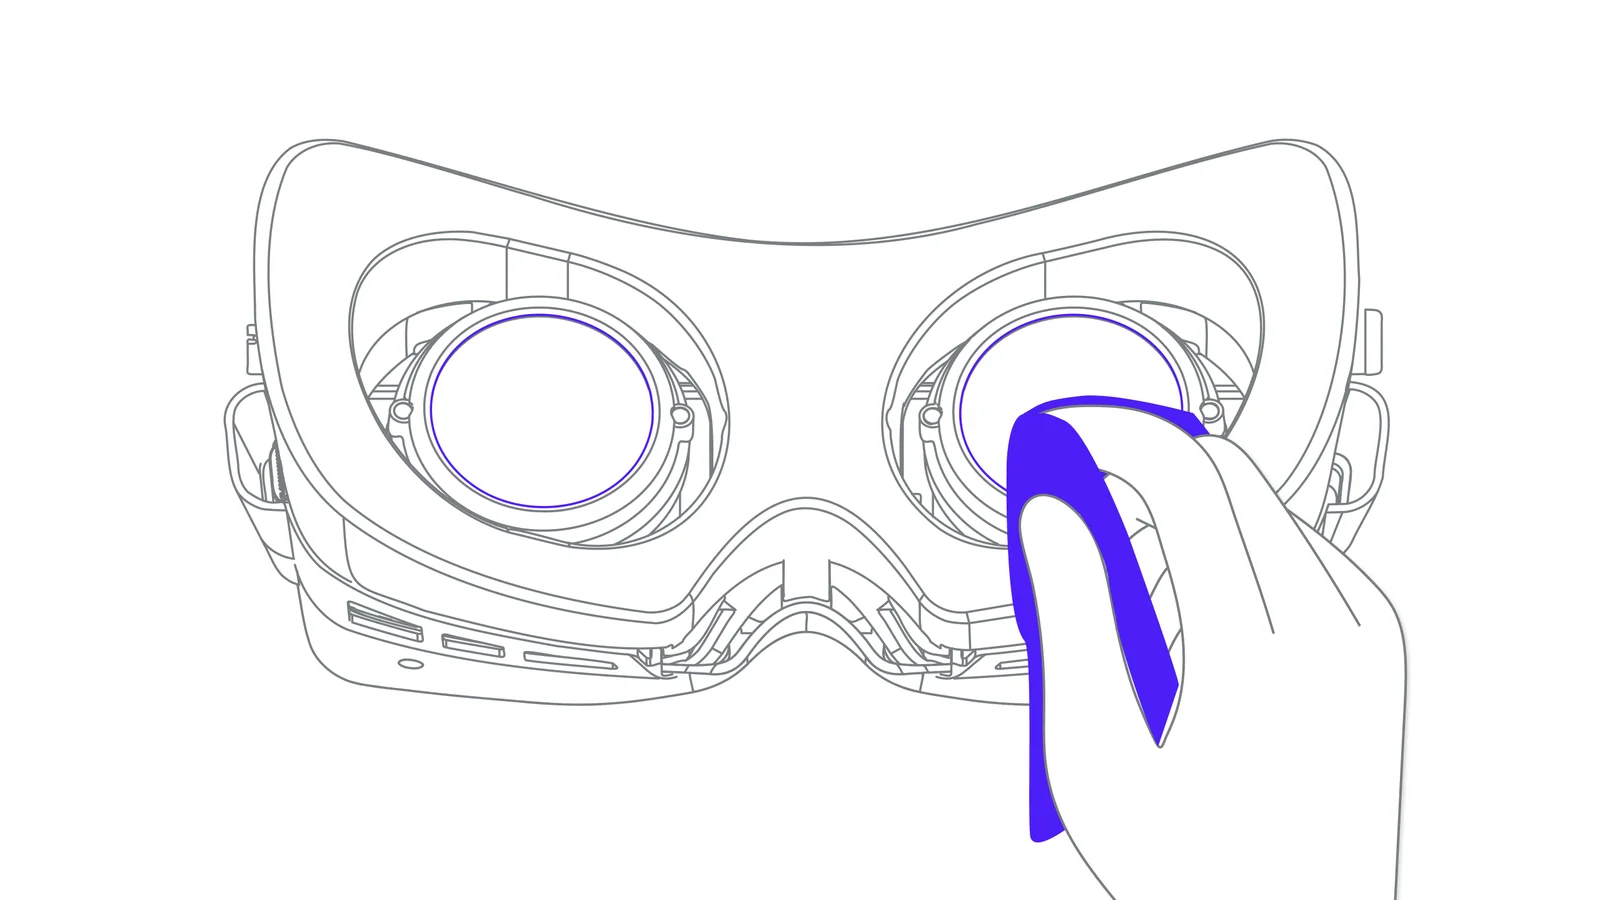
Clean with a Dry Microfiber Cloth
For optimal clarity, gently clean the lenses in a circular motion with a soft, dry microfiber cloth made for optics. Don't apply excessive pressure, and never use cleaning alcohol or liquids.
Lens Inserts
Cleaning your Prescription Lens Inserts
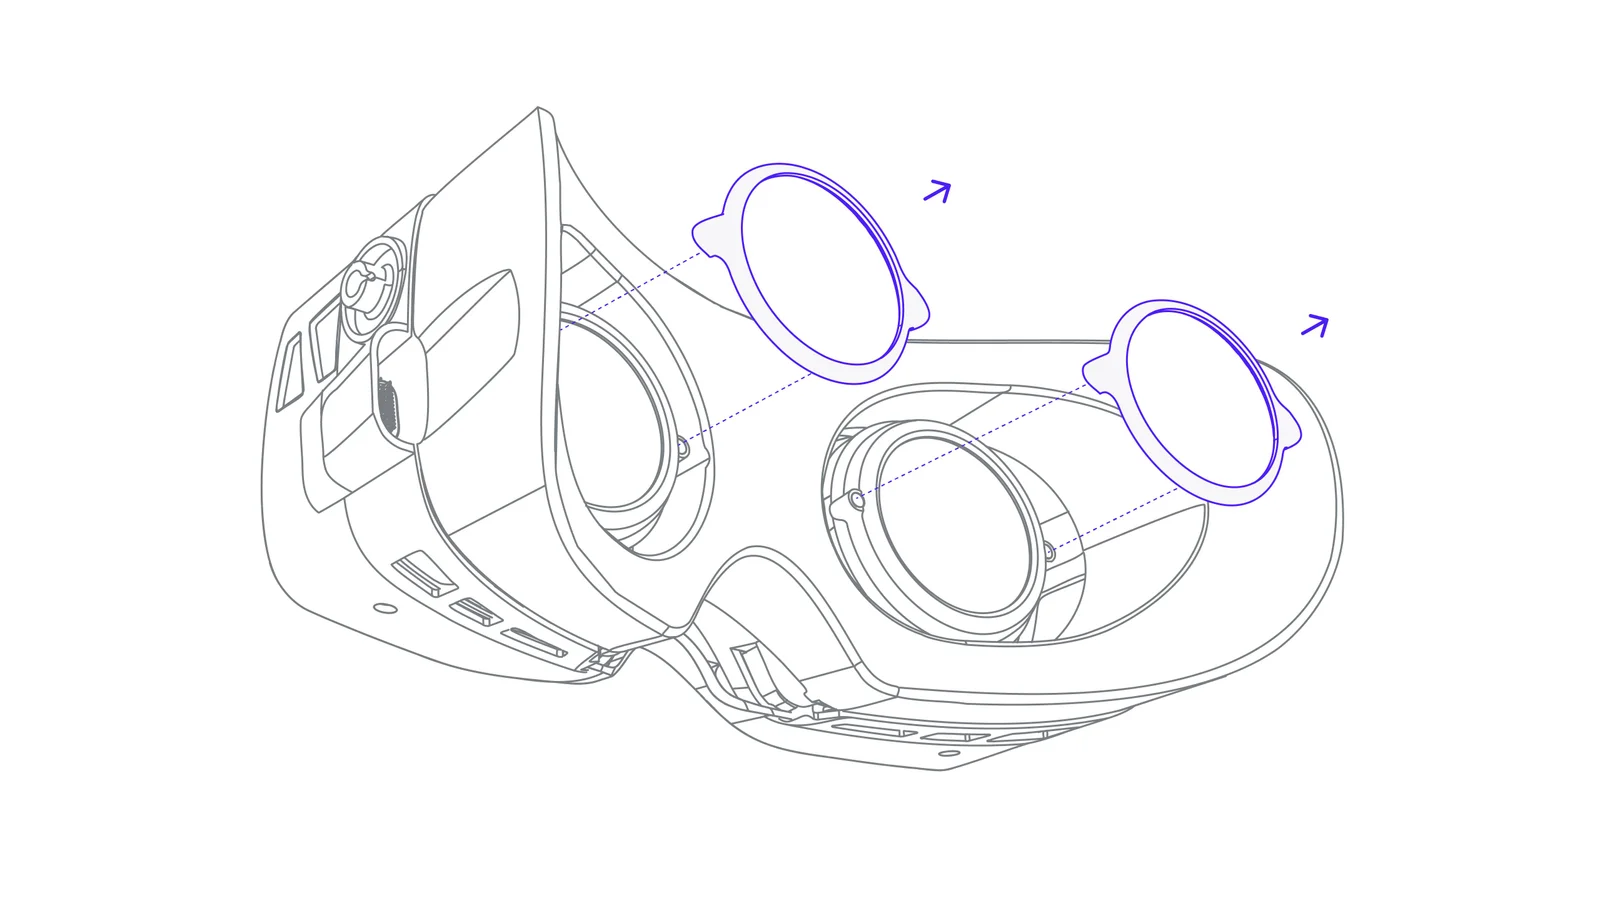
Remove Lens Inserts before cleaning
Always begin by removing the lens inserts from the Beyond. Cleaning them while still attached can pose a risk to the optics, potentially leading to damage.
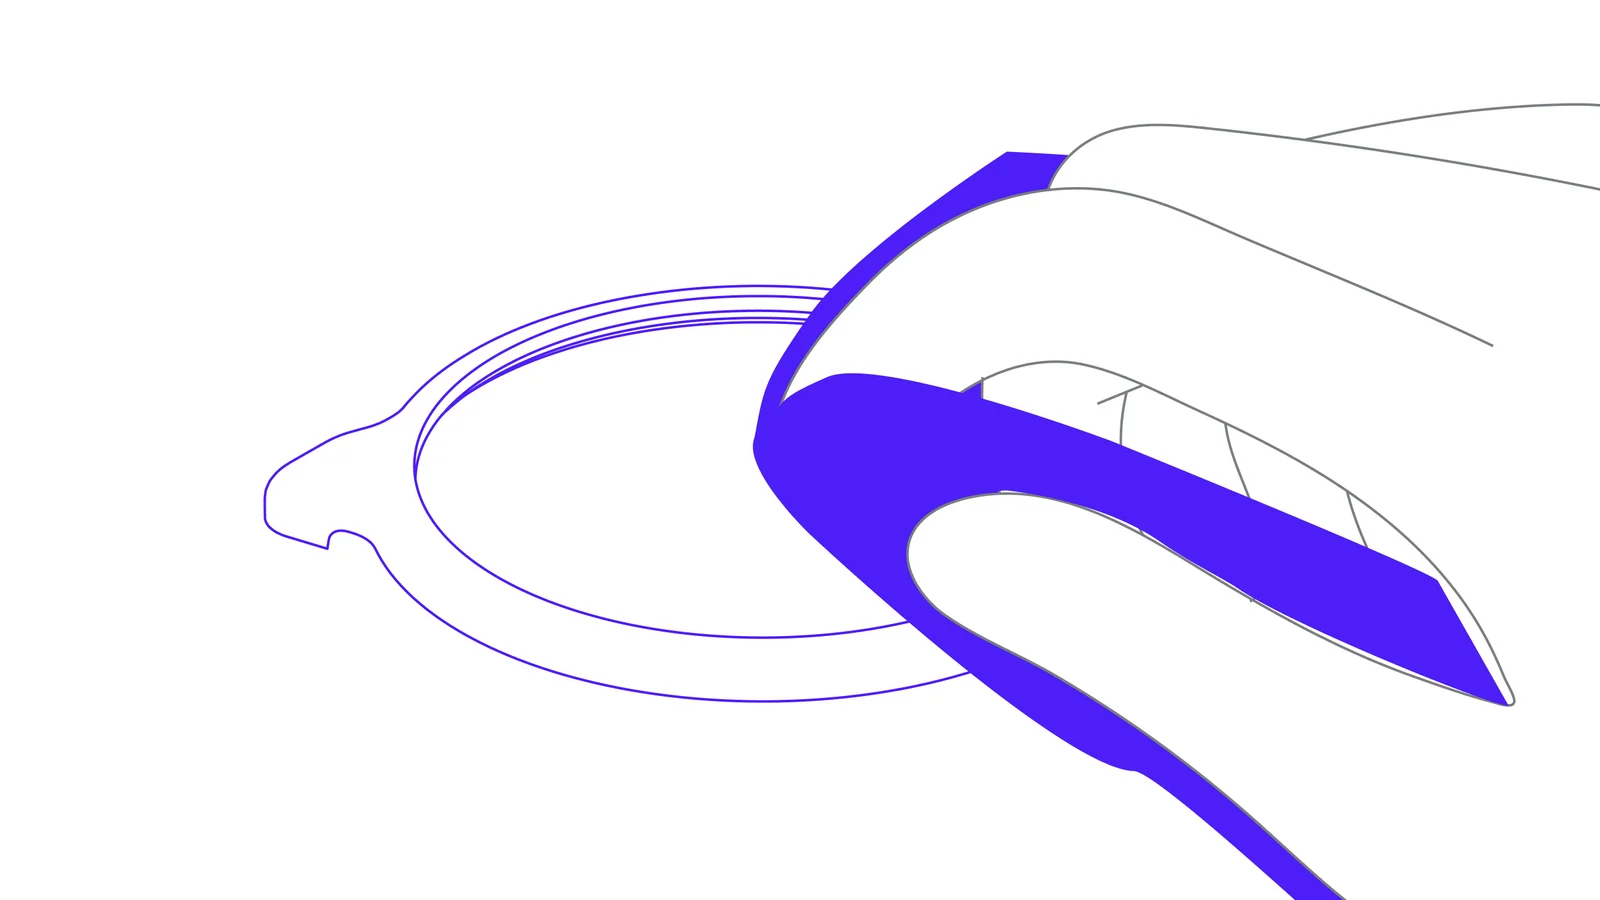
Clean with a Dry Microfiber Cloth
Gently wipe the lenses in a circular pattern with a soft, dry microfiber cloth made for optical use. Don't exert too much pressure, and never use cleaning alcohol or liquids.
Face Cushion
Cleaning your Personalized Beyond Face Cushion
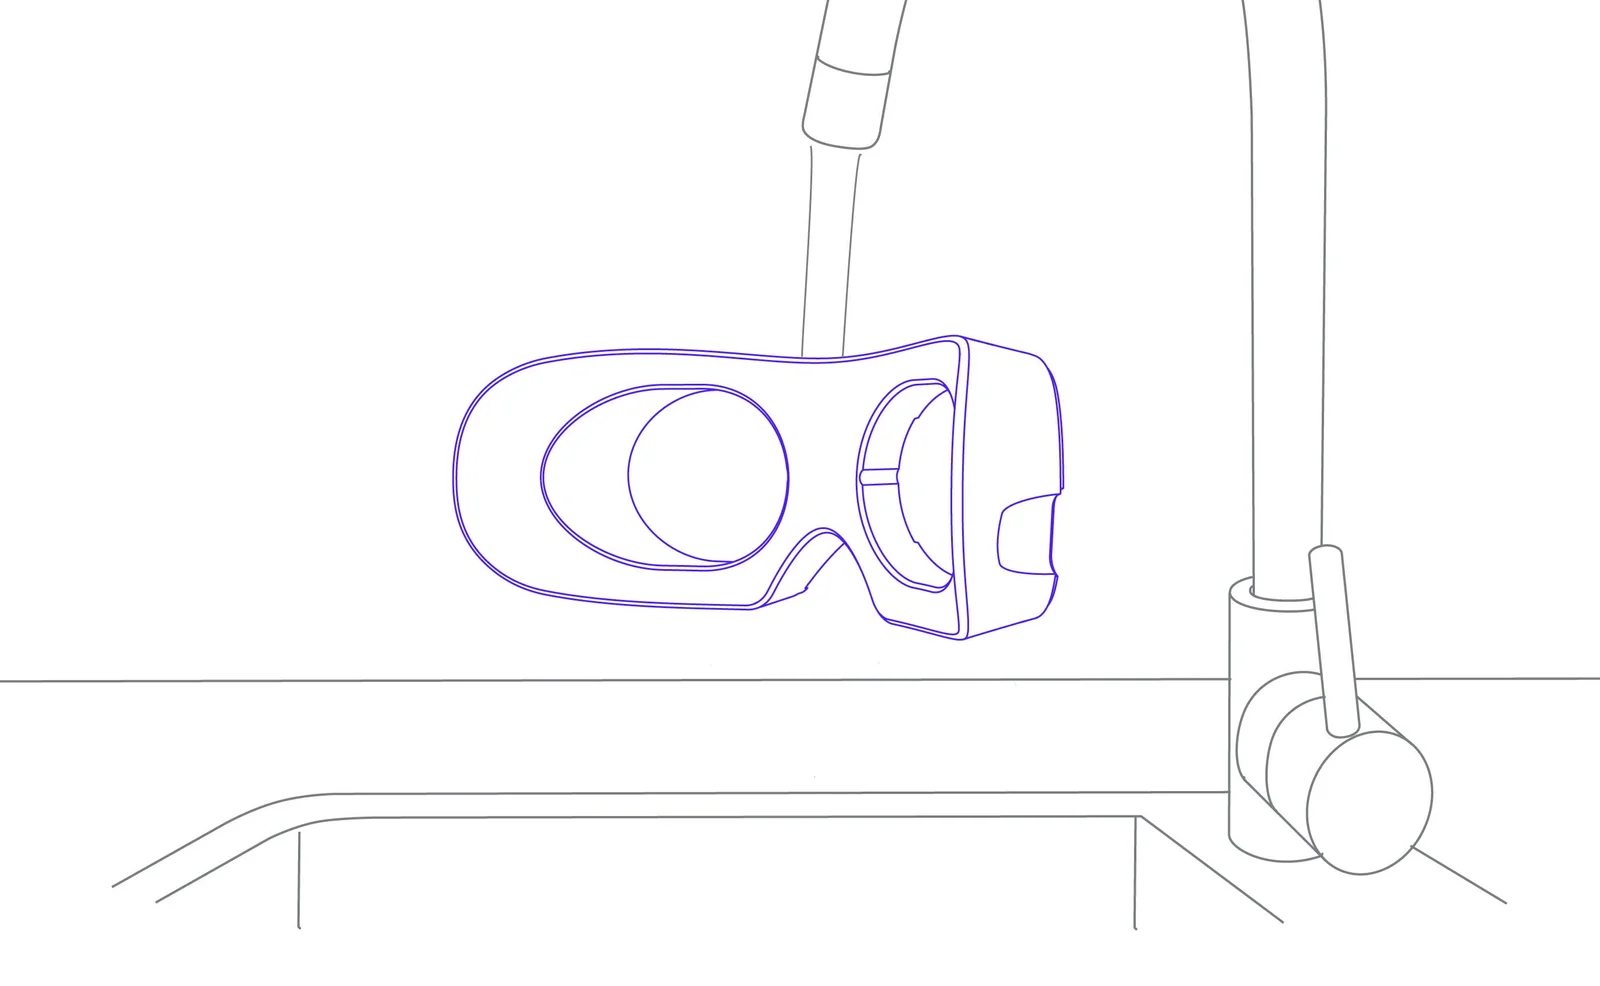
Detach Your Face Cushion and Hand Wash It
Unlike most parts of your Beyond, the face cushion offers more flexibility. Hand wash it using a mild hand soap, gently agitating it in soapy water without wringing or twisting harshly. Let it air dry naturally, and avoid rough towels or abrasive materials.
Safe with Hand Soap
Regular hand soap is perfectly suitable for cleaning your face cushion.
Safe with Water
Feel free to use water. Keep it at a moderate or cold temperature to maintain the cushion's integrity and comfort.
Support
Troubleshooting
Find answers to common questions for your Beyond. If you still need help, contact Bigscreen Support.
The headset doesn't turn on.
The cable end with the purple label and a dot plugs into the USB-C port on the left side of the headset. Do not connect the cable to the right-side USB-C port, which is only for accessories such as the Audio Strap.
The cable end with the orange label and a D-shaped plug connects to the Link Box, which has a matching D-shaped slot. If you connect this D-shaped plug into the headset, you may see the LED turn on, but the headset will not operate.
The headset is on, but I only see white/grey and I don't see VR.
This means your headset cannot see the SteamVR Base Stations, which are required for the headset to operate. Ensure your SteamVR Base Stations are turned on and facing the Beyond, and follow the base-station setup guide to configure them correctly.
How do I switch the headset refresh rate (75Hz and 90Hz)?
Open the Bigscreen Beyond Utility, which is installed via Steam, and set your preferred refresh rate there.
I have an AMD GPU and my Beyond is treated as an extended desktop instead of a VR device / SteamVR does not recognize it.
- Ensure the Beyond is fully connected to your machine.
- In Windows, go to Settings > System > Display.
- Locate and click the display representing your Beyond.
- Change the Display resolution to the maximum allowed, either "5088x2544" or "3840x1920".
- Click the Advanced display settings link (near the bottom of the page on Windows 10; in Related settings on Windows 11).
- Ensure the refresh rate is set to 75Hz. If you previously changed it to 90Hz using our tool, set it to 90Hz instead.
- In SteamVR > Developer > Developer Settings, find the Direct Display Mode section and click Enable Direct Display.
The headset should now function as expected.